Bayberry Wax (Sieve Method)

Bayberry Wax (Sieve Method)
Gentle, low-mess way to extract bayberry wax by suspending the fruit above hot water. The wax loosens, drips into the pot, and solidifies on the surface for easy collection and cleaning.
Equipment
- Large pot (filled about two-thirds with water)
- Heatproof hanging sieve or steamer insert that does not touch the water
- Kettle (for pouring boiling water)
- Long spoon or spatula (wood or stainless steel)
- Bowl/tray for spent berries
- Cheesecloth or coffee filter
- Heatproof jar or small pot for water bath
- Paper towels
- Labels and pen
Ingredients
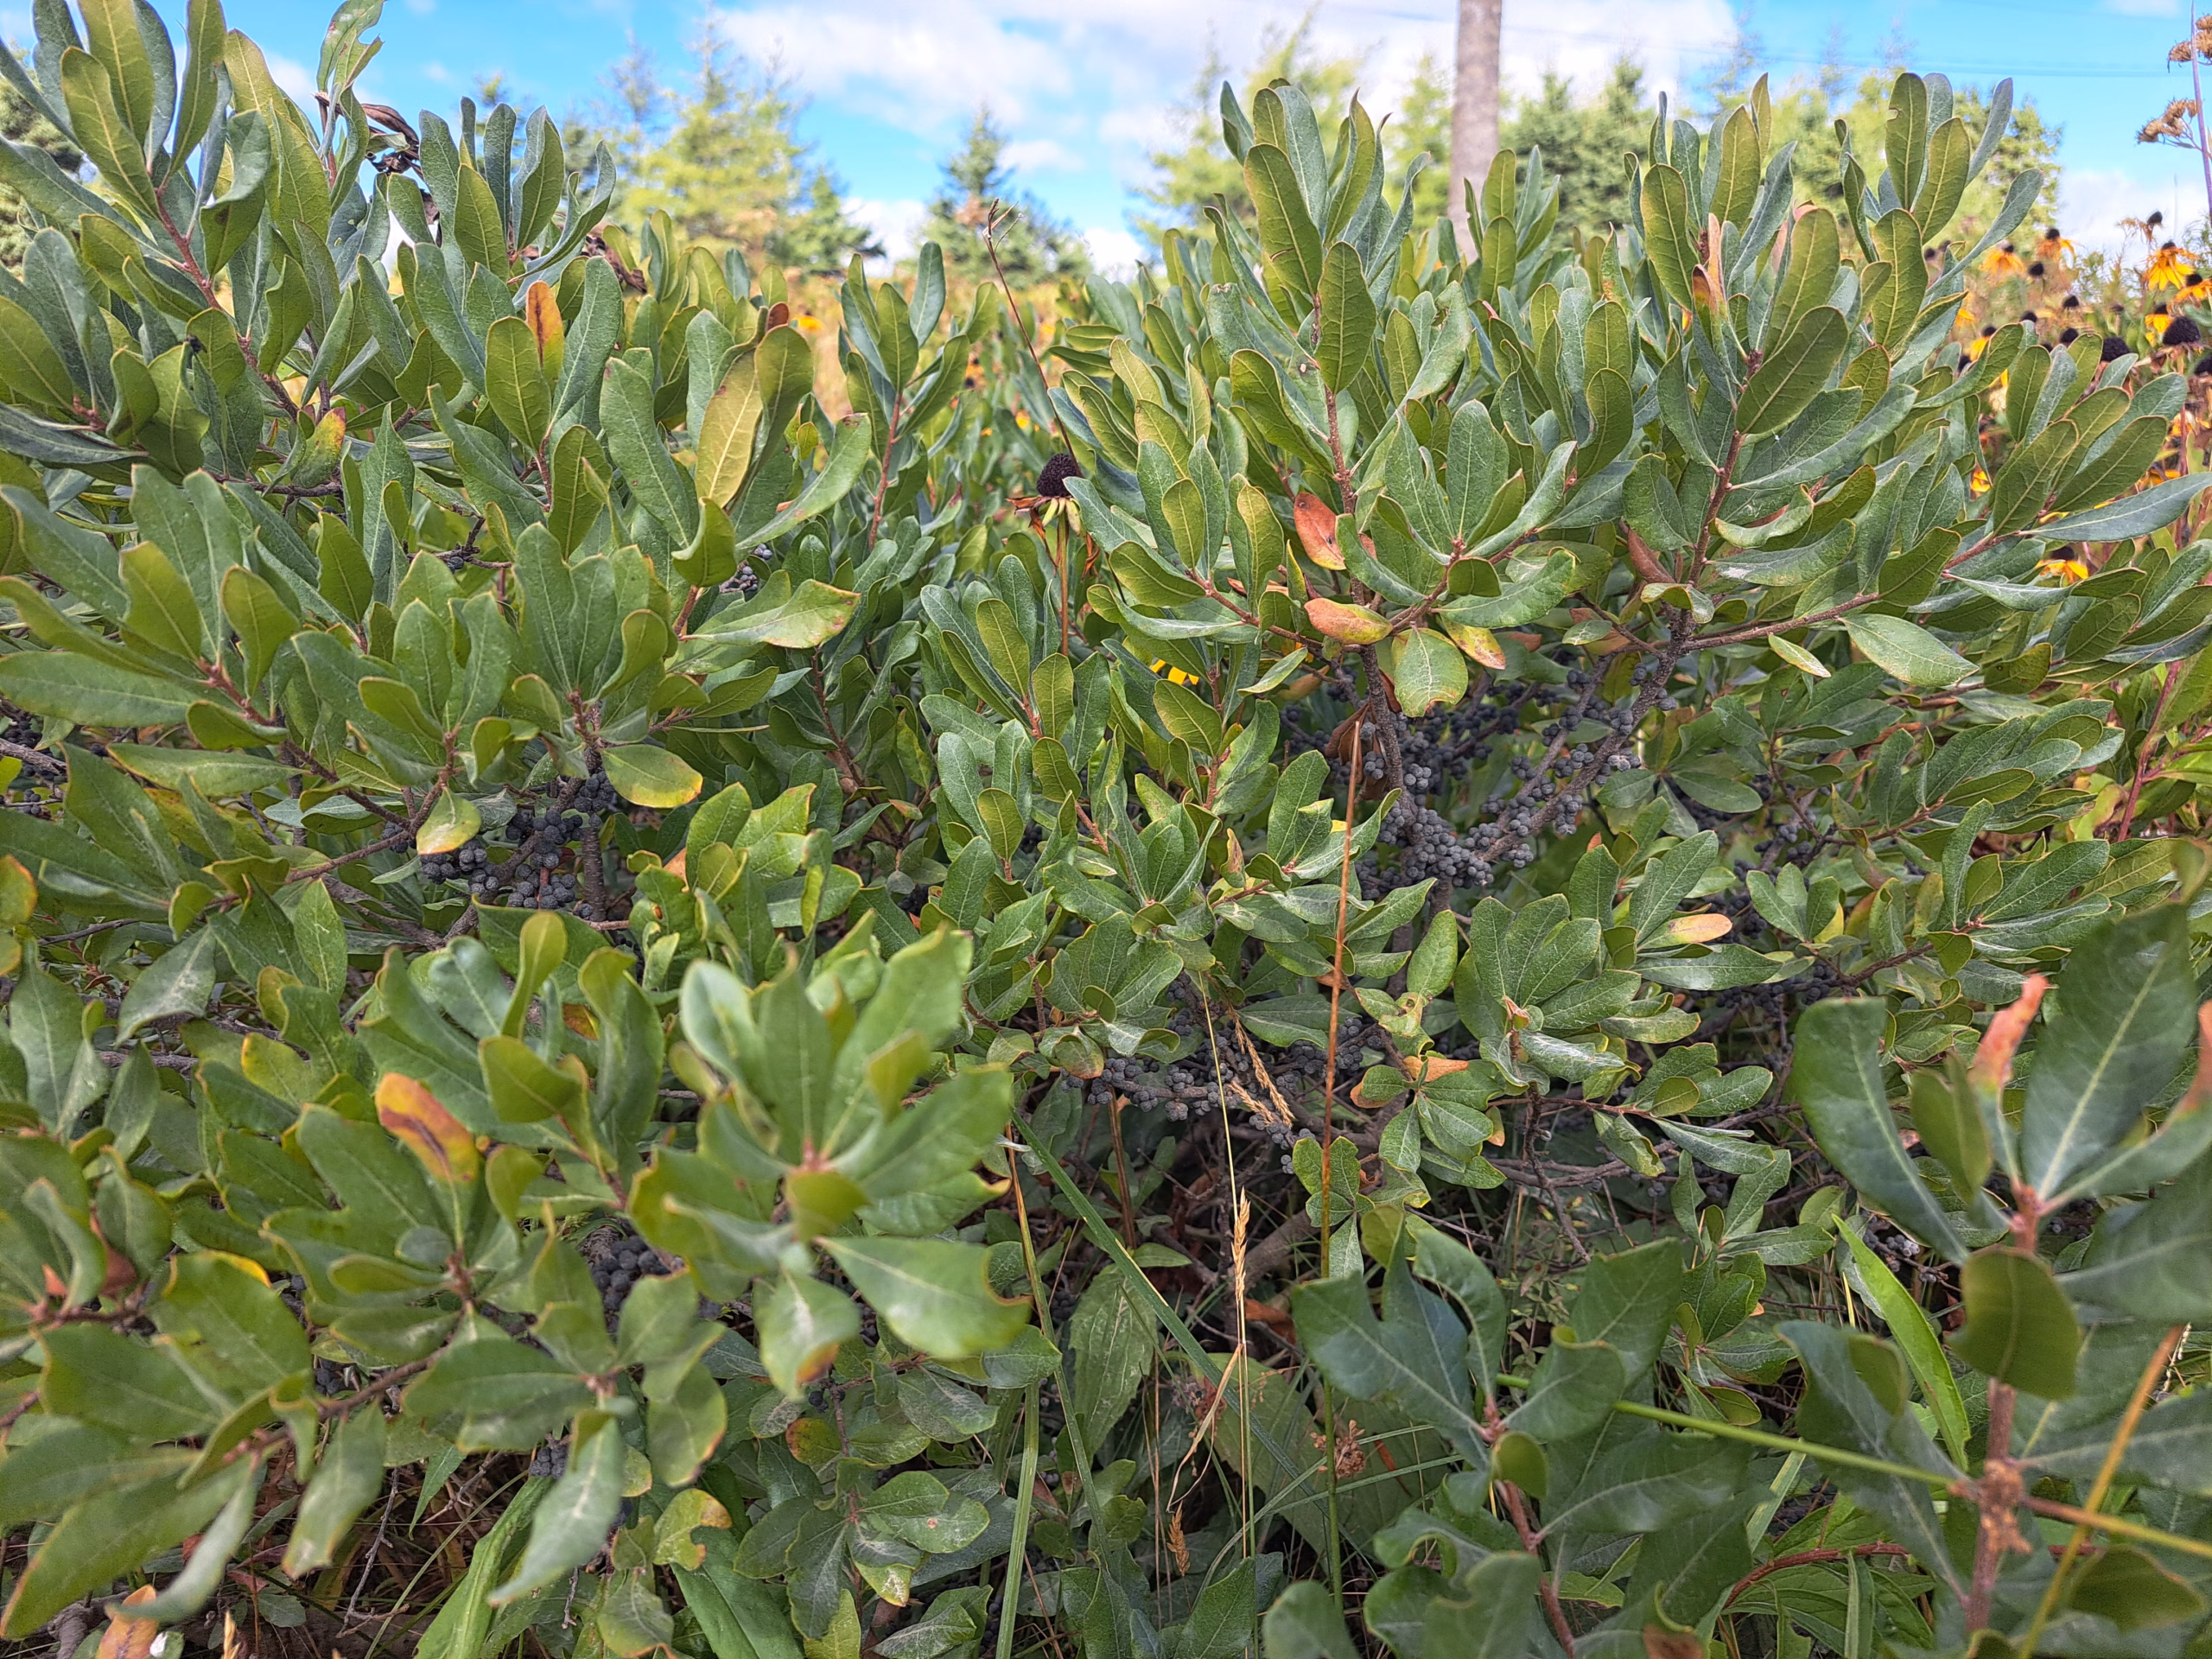
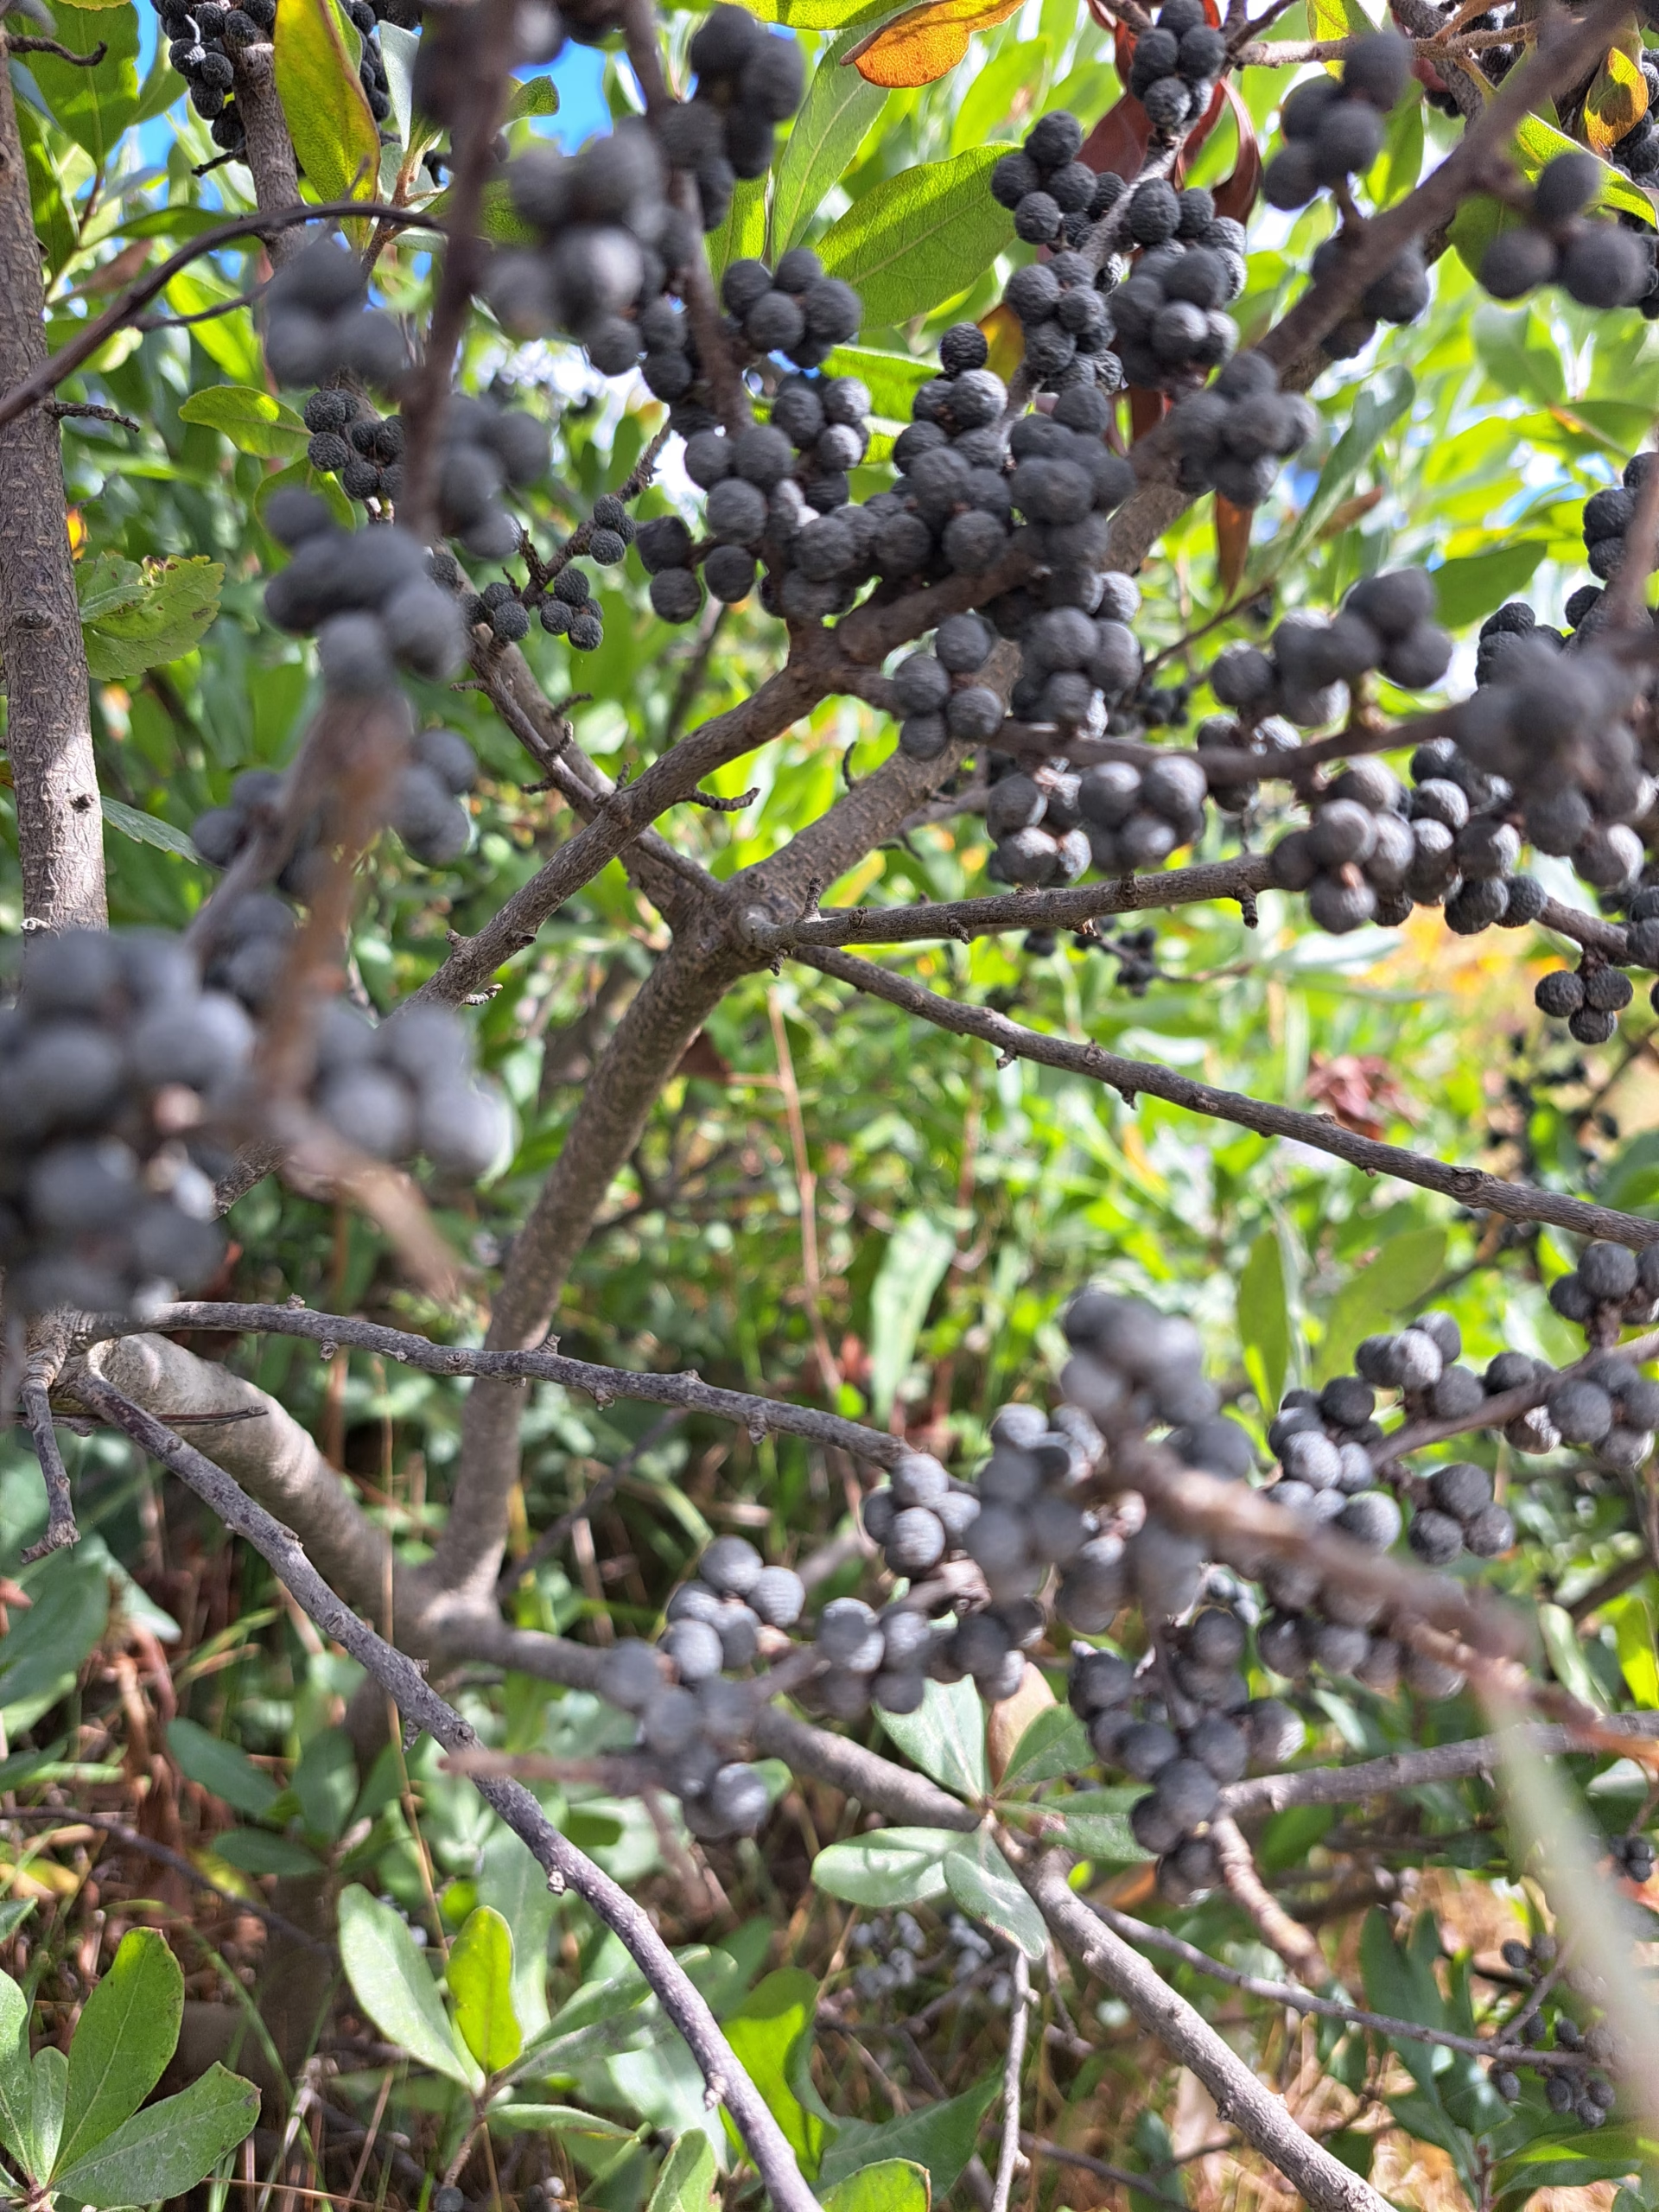
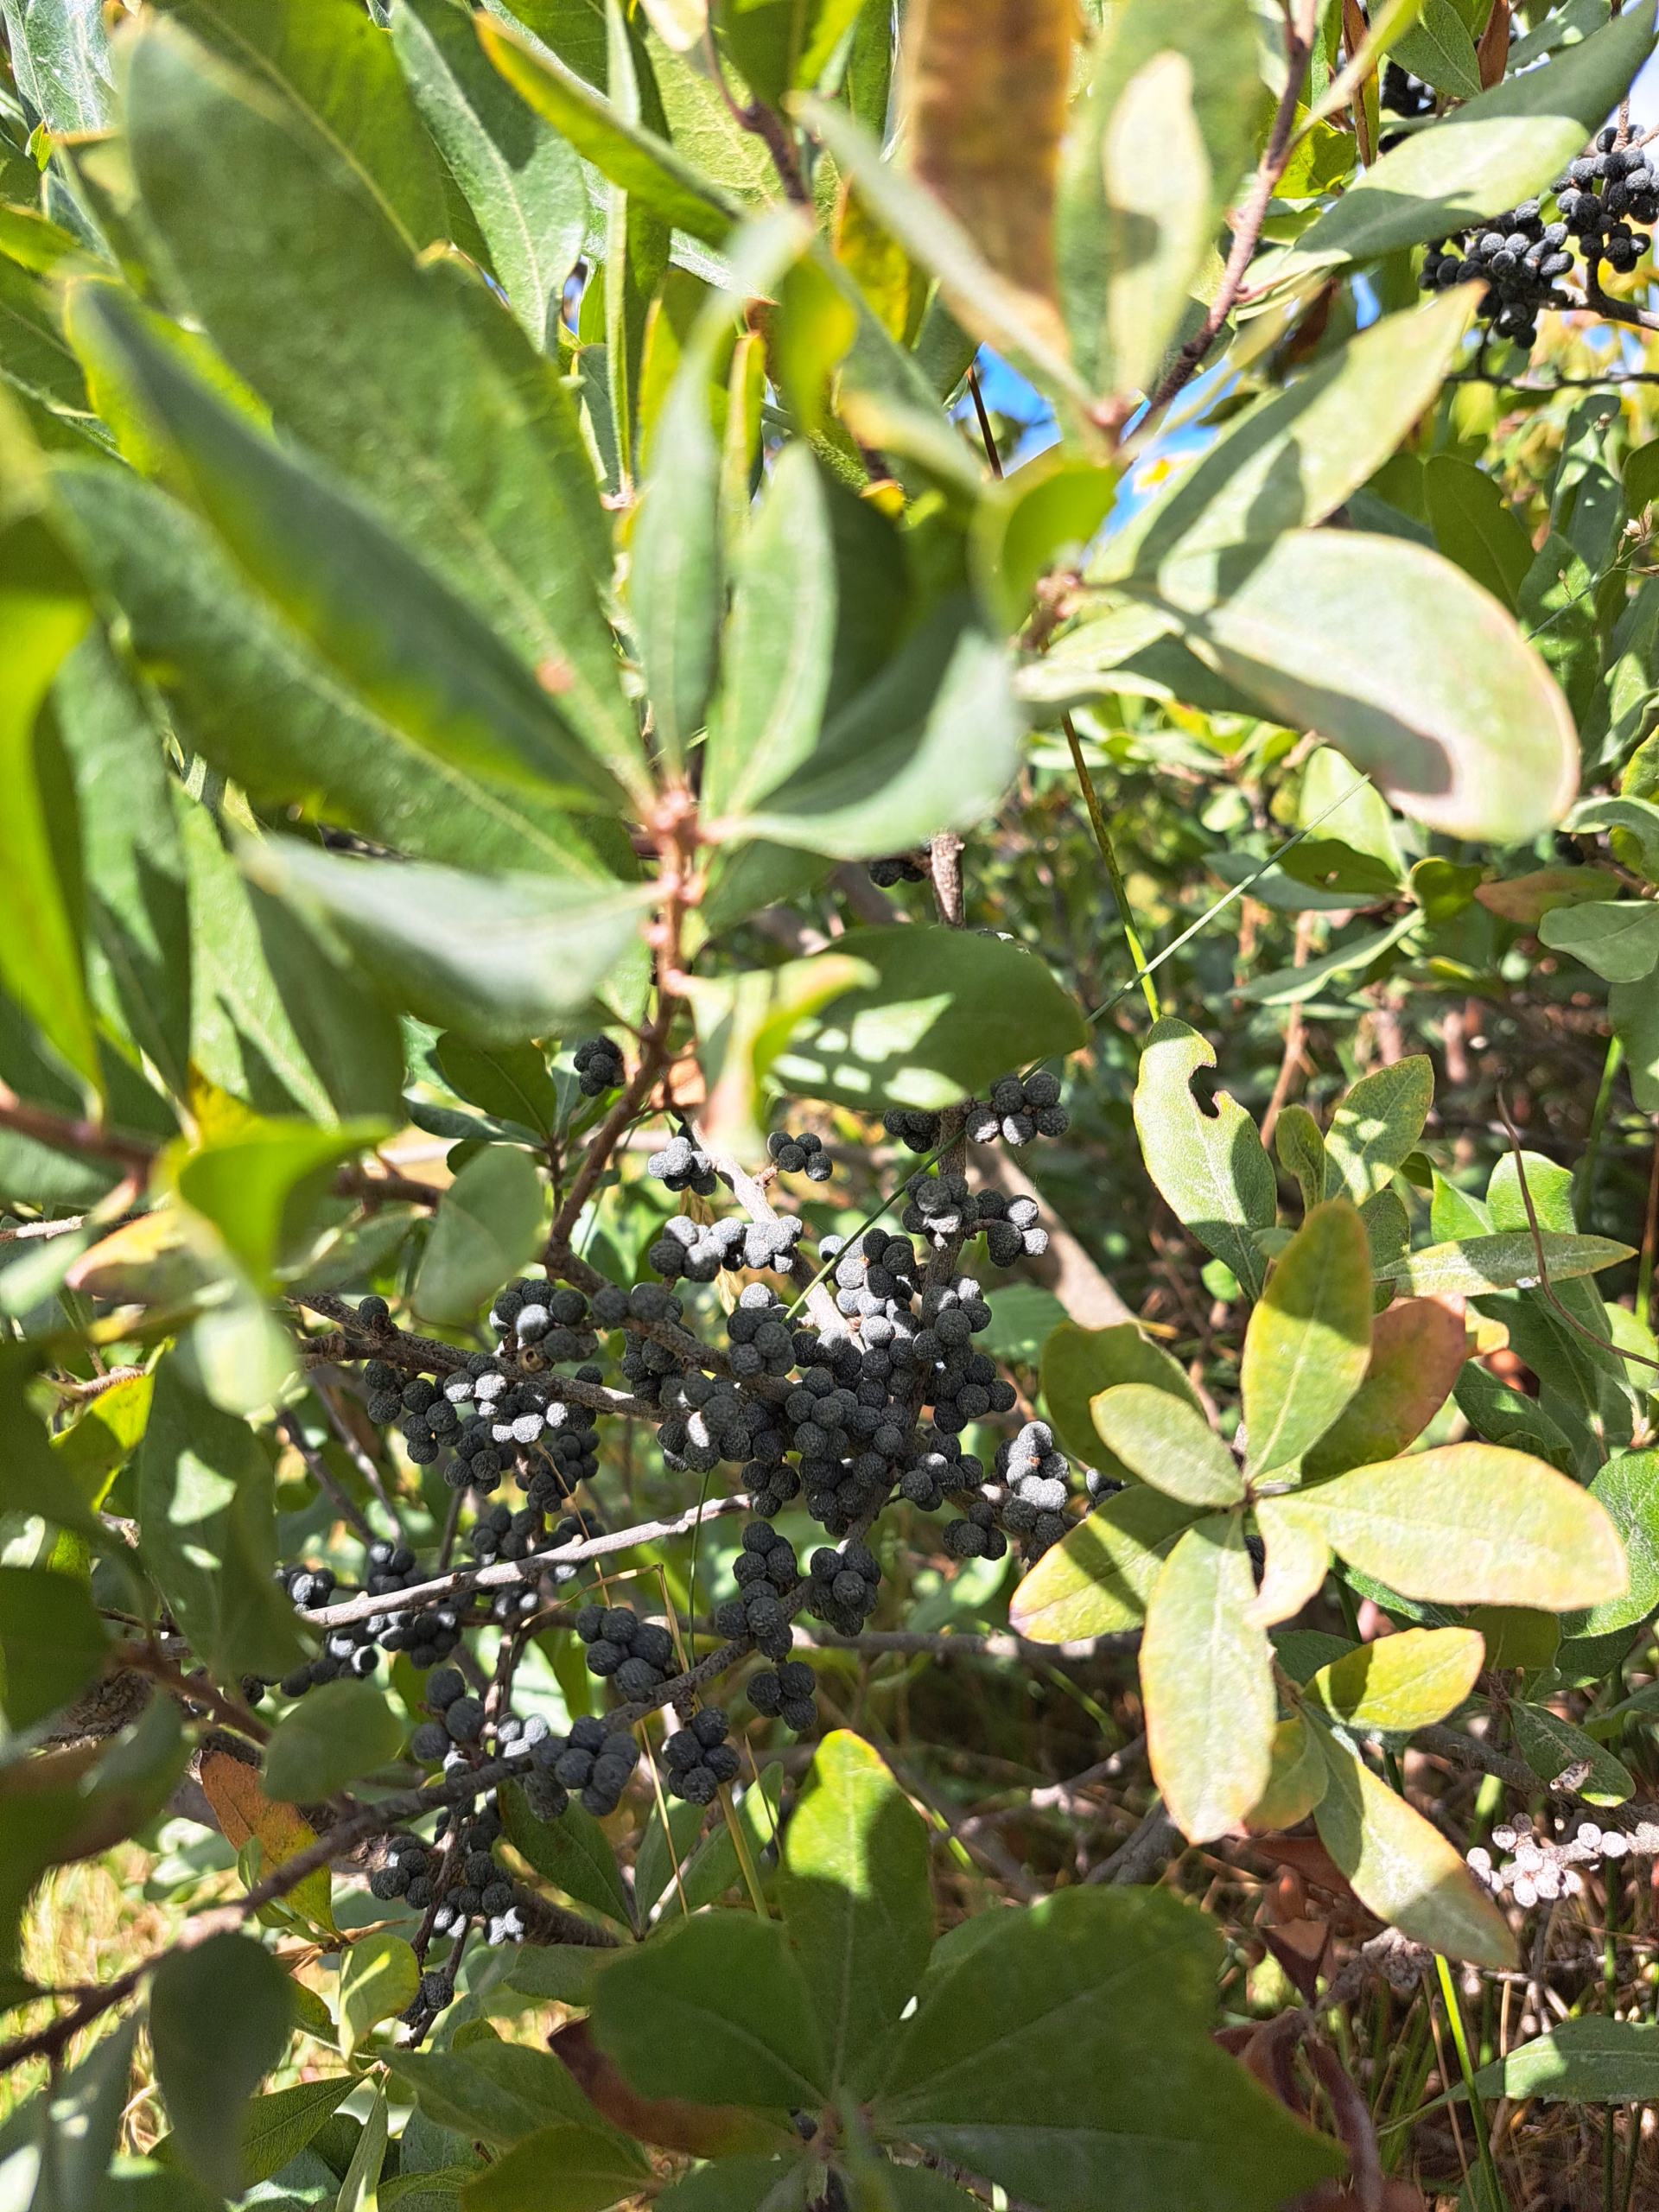
- Fresh or dried bayberry fruits Morella/Myrica pensylvanica
- Water
Instructions
- Set up: Fill the pot two-thirds with water and bring to a steady simmer. Suspend the sieve over the pot so the berries sit in steam, not in the water.
- Load berries: Place the bayberries in the sieve.
- Steam & pour: Carefully pour boiling water over the berries, then keep the pot at a gentle simmer for 20–30 minutes.
- During this time, wax will liquefy, drip through the sieve into the pot, and float on the water surface.
- Remove & cool: Lift out the sieve and let berries drain into a bowl. Cover the pot and allow it to cool undisturbed overnight so the wax can set.
- Collect wax: Next day, lift the solid wax layer/flakes from the water surface and blot on paper towels.
- Clarify: Melt the raw wax in a water bath (do not overheat). Pour through warm cheesecloth or a coffee filter to remove plant particles.
- Finish: If you want extra-clean wax, repeat the melt/filter once more. Pour into molds or a jar and label.
Notes
- Color & scent: Naturally greenish to gray-green with a resinous, balsamic aroma.
- Melt range: Approximately 42–50 °C (108–122 °F). For candles, many makers blend with harder waxes for a steadier burn.
- Yield tips: Dried fruit often gives slightly less wax than fresh. Slow, gentle heat improves clarity. Warm your filter medium so the wax doesn’t set mid-pour.
- Uses: Container candles, scent blends, salve bases, or as a component in mixed vegetable-wax recipes. Pairs well with cedar, fir, spruce, bay, sage, and juniper aromas.
- Safety & Sustainability
- Work in a well-ventilated area; keep hot water and wax away from children and pets.
- Keep food and craft equipment separate.
- Handle hot liquids carefully; never leave the pot unattended.
- Harvest moderately—don’t remove all fruit from a single shrub. Dispose of plant residues in household trash/compost; don’t dump into waterways.
- Storage Store clarified wax cool, dark, and dry. Properly cleaned bayberry wax is essentially shelf-stable for years.
Bayberry Candle
Bayberry Candle
A warmly resinous candle made with clarified bayberry wax, blended with beeswax or soy for a smoother, longer burn. Fix the wick, melt and mix the waxes, pour, cool, and trim.
Equipment
- Heatproof pouring jug or double boiler setup
- Saucepan for water bath
- Heatproof jars or candle molds
- Cotton wicks with sustainers (pre-tabbed)
- Wick stickers or a dab of hot glue
- Wick centering tool or chopsticks
- Kitchen thermometer (recommended)
- Funnel or steady pouring spout
- Scissors
Ingredients
- Collected clarified bayberry wax
- Neutral wax beeswax or soy, amount per desired blend
- Cotton wick sized for your vessel diameter
- Mixing Ratios guidelines
- 100% bayberry wax strong resinous scent greenish-gray color, but a brittle, shorter burn
- part bayberry : 2 parts neutral wax pronounced scent and traditionally noted insect-repelling character steadier burn
- part bayberry : 3–4 parts neutral wax milder scent very even, longer burn
Instructions
- Prepare vessels: Attach wick sustainers centered on the jar or mold base. Secure the wick top with a centering tool. Pre-warm glass vessels slightly so wax cools evenly.
- Melt waxes: In a water bath, melt the higher-melting wax first (beeswax ≈ 62–66 °C; many soy blends ≈ 50–55 °C). Add bayberry wax (≈ 42–50 °C melt) and stir gently until uniform.
- Set pour temperature: Aim for a unified blend around 55–65 °C. Avoid overheating.
- Pour in a thin, steady stream to minimize bubbles, leaving a little headspace. Tap the vessel gently to release trapped air.
- Level and top off (if needed)
- If a sinkhole forms as the candle sets, re-melt a small amount of blend and top off the surface.
- Cure: Let stand undisturbed 24–48 hours at room temperature.
- Trim wick to 0.5–1 cm before the first burn.
Notes
- Wick choice: Bayberry blends can be denser; start one wick size larger than you’d use for pure soy in the same jar, then test-burn.
- Pour temps: For container candles, a slightly cooler pour (≈ 55–60 °C) reduces frosting and sinkholes. For rigid molds, pour a bit cooler to minimize cracks.
- Scent profile: Naturally balsamic, resinous, woodsy; additional fragrance is usually unnecessary. If used, keep any additives candle-safe and low dose.
- Finish Slow, even cooling and pre-warmed vessels help prevent surface cracking.
- Storage: Cool, dark place. Bayberry blends harden further over a few days and often burn more evenly after curing.
- Safety
- Always burn on a heat-safe, level surface, away from drafts, children, pets, and flammables.
- Keep wick trimmed to 0.5–1 cm and allow a full melt pool on the first burn to prevent tunneling.
- Never leave a burning candle unattended.
Bayberry Potpourri

Bayberry Potpourri
A gentle, resinous room fragrance made from well-dried bayberry fruits (after wax extraction) blended with warm, wintry aromatics. Store in bowls or cotton sachets to release scent slowly over weeks.
Equipment
- Baking sheet + parchment (for final drying)
- Mixing bowl and spoon
- Clean jars or cotton sachets
- Labels and pen
Ingredients
- Dried bayberry fruits post wax extraction, thoroughly dry
- Optional aromatic additions: dried orange peel cinnamon sticks, pine needles, dried flowers (e.g., lavender, rose)
- Optional fixative: 1 tsp orris root powder to anchor scent
- Optional: 2–4 drops essential oil cedar, fir, orange
Instructions
- Dry completely: Spread bayberries on a parchment-lined tray and air-dry 24–48 hours (or 1–2 hours at 40–50 °C / 105–120 °F with the oven door slightly ajar) until crisp-dry.
- Mix: In a bowl, combine bayberries with orange peel, cinnamon sticks, pine needles, and flowers.
- Fix & scent (optional): Stir in a little orris root powder and sprinkle on a few drops of essential oil; mix well.
- Cure: Transfer to a closed jar and let sit 24 hours to marry the aromas, or fill cotton sachets for immediate use.
- Place: Display in open bowls or tuck sachets into drawers and closets.
Notes
- Refresh: Add 1–2 drops essential oil and toss to revive scent after a few weeks.
- Variations: Add star anise, cedar shavings, or a strip of dried lemon peel.
- Sustainability: This is a great second life for berries used in wax extraction.
- Safety
- For external use only; do not ingest.
- Keep out of reach of children and pets.
- Store dry, away from heat sources and open flames.
Bayberry Incense

Bayberry Incense
A warm, resinous-smoky incense made from dried bayberry fruits or leaves. Lightly crush, place on a lit charcoal disc in a fireproof bowl, and enjoy a woodsy, cleansing aroma that’s traditionally used to freshen spaces and gently deter insects.
Equipment
- Fireproof bowl or censer (lined with sand or small pebbles)
- Charcoal disc or safe ember source
- Tongs or metal spoon
- Lighter or matches
- Small mortar & pestle (or the back of a spoon)
- Optional incense screen (for gentler heat)
Ingredients
- Dried bayberry fruits or leaves lightly crushed
Instructions
- Prepare the vessel: Line a fireproof bowl with a layer of sand or pebbles.
- Light charcoal: Using tongs, light a charcoal disc until it sparks and turns evenly gray on the surface. Place it in the bowl.
- Crush: Lightly crush the dried bayberries or leaves to release aroma.
- Burn: Sprinkle a small pinch onto the glowing charcoal. Add more in tiny amounts as needed.
- Ventilate: Let the aroma spread; waft gently and ventilate the room if desired. Discard ashes only after fully cooled.
Notes
- Scent profile: Resinous, woody, gently green; blends well with cedar, fir, sage, juniper, and a strip of dried orange peel.
- Gentle option: Use an incense screen over a tea light for softer heat and subtler scent.
- Less is more: A knife-tip amount scents a small room; add sparingly to avoid smoke heaviness.
- Safety
- Burn only in a stable, fireproof container; never leave unattended.
- Keep away from children, pets, drafts, and flammables.
- Use in a well-ventilated area—avoid if steam/smoke triggers asthma or headaches.
- Allow charcoal and ash to cool completely before disposal.
Bayberry Dye Bath

Bayberry Dye Bath
A gentle, plant-based dye made from bayberry residues left after wax extraction. Simmer to extract color, strain, then dye pre-wetted natural fibers. Expect pale greenish to gray/olive tones depending on fiber, mordant, and pH.
Equipment
- Large non-reactive pot (stainless steel)
- Second pot or bucket for straining
- Fine sieve or muslin cloth
- Stirring spoon (wood or stainless)
- Tongs or dye stick
- Gloves and apron
- Thermometer (optional)
- Bucket/bowl for pre-soaking fibers
Ingredients
- Bayberry residues after wax extraction, well drained
- Water
- Natural fabrics or yarns cotton, linen, wool, silk, pre-washed and pre-wetted
- Optional mordants
- – Protein fibers wool/silk: alum 10–15% WOF
- – Cellulose cotton/linen: alum 5–10% WOF + 5% cream of tartar or citric acid
- Optional modifiers
- – 1–2% iron ferrous sulfate of WOF for olive/gray-green shift
- – 1 tsp vinegar cooler, fresher tone or 1 tsp baking soda (warmer tone)
Instructions
- Prepare fibers: Wash to remove finishes/oils. Pre-soak in clean water. Mordant if desired (see amounts), rinse lightly, keep damp.
- Extract dye: Cover bayberry residues with water in the stainless pot. Simmer gently (not a rolling boil) for 30–60 minutes.
- Strain: Pour through a sieve/muslin into a second vessel; press residues lightly. Return the clear dye liquor to the dye pot.
- Dye: Add pre-wetted fibers. Maintain just under a simmer for 60–120 minutes, moving gently for even color. Do not boil wool.
- Cool & set: Remove from heat and let fibers cool in the bath 30–60 minutes.
- Rinse & dry: Lift out, rinse in cool water until clear, gently squeeze, and dry in the shade.
- Modify (optional): For olive tones, dip damp fibers 5–10 minutes in a very weak iron bath (1–2% WOF), watch the shift closely, then rinse well.
Notes
- Shade range: Pale greenish to gray/olive; protein fibers take deeper color than cellulose.
- pH effect: Slightly acidic → cooler green-gray; slightly alkaline → warmer olive.
- Clarity: Filtering the liquor reduces flecks and yields cleaner color.
- Scaling: For deeper shades, increase residues (up to a brimming pot per 100 g fiber) or extend dye time.
- Fastness: Improves with proper mordanting and a 24–48 h cure before first wash; use pH-neutral soap.
- Safety & Sustainability
- Wear gloves; keep food and dye equipment separate.
- Ventilate well and avoid copper/iron pots (they shift color).
- Dispose of plant waste in household trash/compost; don’t pour concentrated baths into waterways.
Bayberry Compost Water
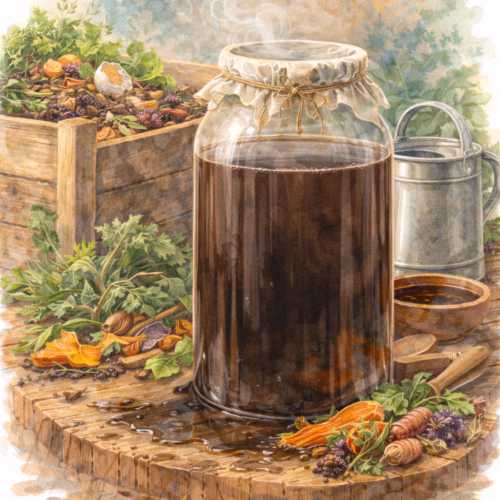
Bayberry Compost Water
A practical by-product from bayberry wax extraction used as a mild compost accelerator. Use steamed water sparingly as-is; always dilute boiled extraction water to avoid over-acidifying the heap. Helps curb odors while supporting a balanced breakdown.
Equipment
- Bucket or watering can with volume marks
- Stir stick
- Fine sieve (optional, to remove particles)
- Labels and pen (to note dilution)
Ingredients
- Water left from bayberry wax extraction
- – Steamed water milder
- – Boiled water stronger
- Fresh water for diluting boiled water
Instructions
- Cool completely: Let the extraction water return to room temperature.
- Clarify (optional): Strain through a fine sieve to remove plant particles.
- Dose — steamed water: Apply directly, 1–2 liters per full compost heap, no more than once per week.
- Dilute — boiled water: Mix at least 1 part extraction water to 3 parts fresh water (≥1:3).
- Apply: Sprinkle evenly over active layers of the heap, ideally after adding fresh greens or after a turn.
- Aerate: Lightly fork or turn the heap to maintain oxygen and distribute moisture.
Notes
- Why it helps: Resins and tannins can suppress odor-causing putrefactive bacteria while leaving beneficial fungi and actinomycetes active, encouraging steadier decomposition.
- Go light: Small, frequent applications work better than large dumps. Watch moisture—aim for “wrung-out sponge.”
- pH awareness: Boiled water is more concentrated; always dilute to prevent excessive acidity.
- Materials balance: Pair applications with carbon-rich bulking agents (leaves, wood chips, shredded cardboard) to offset any resin/tannin load.
- Spent fruit: De-waxed bayberries can be composted in small amounts—crush first and mix well. Large quantities may slow the heap; distribute across multiple piles if needed.
- Safety & Sustainability
- Use only fully cooled liquids.
- Keep all liquids out of drains and natural waterways.
- Wear gloves if you have sensitive skin.
- Keep craft and food equipment separate.