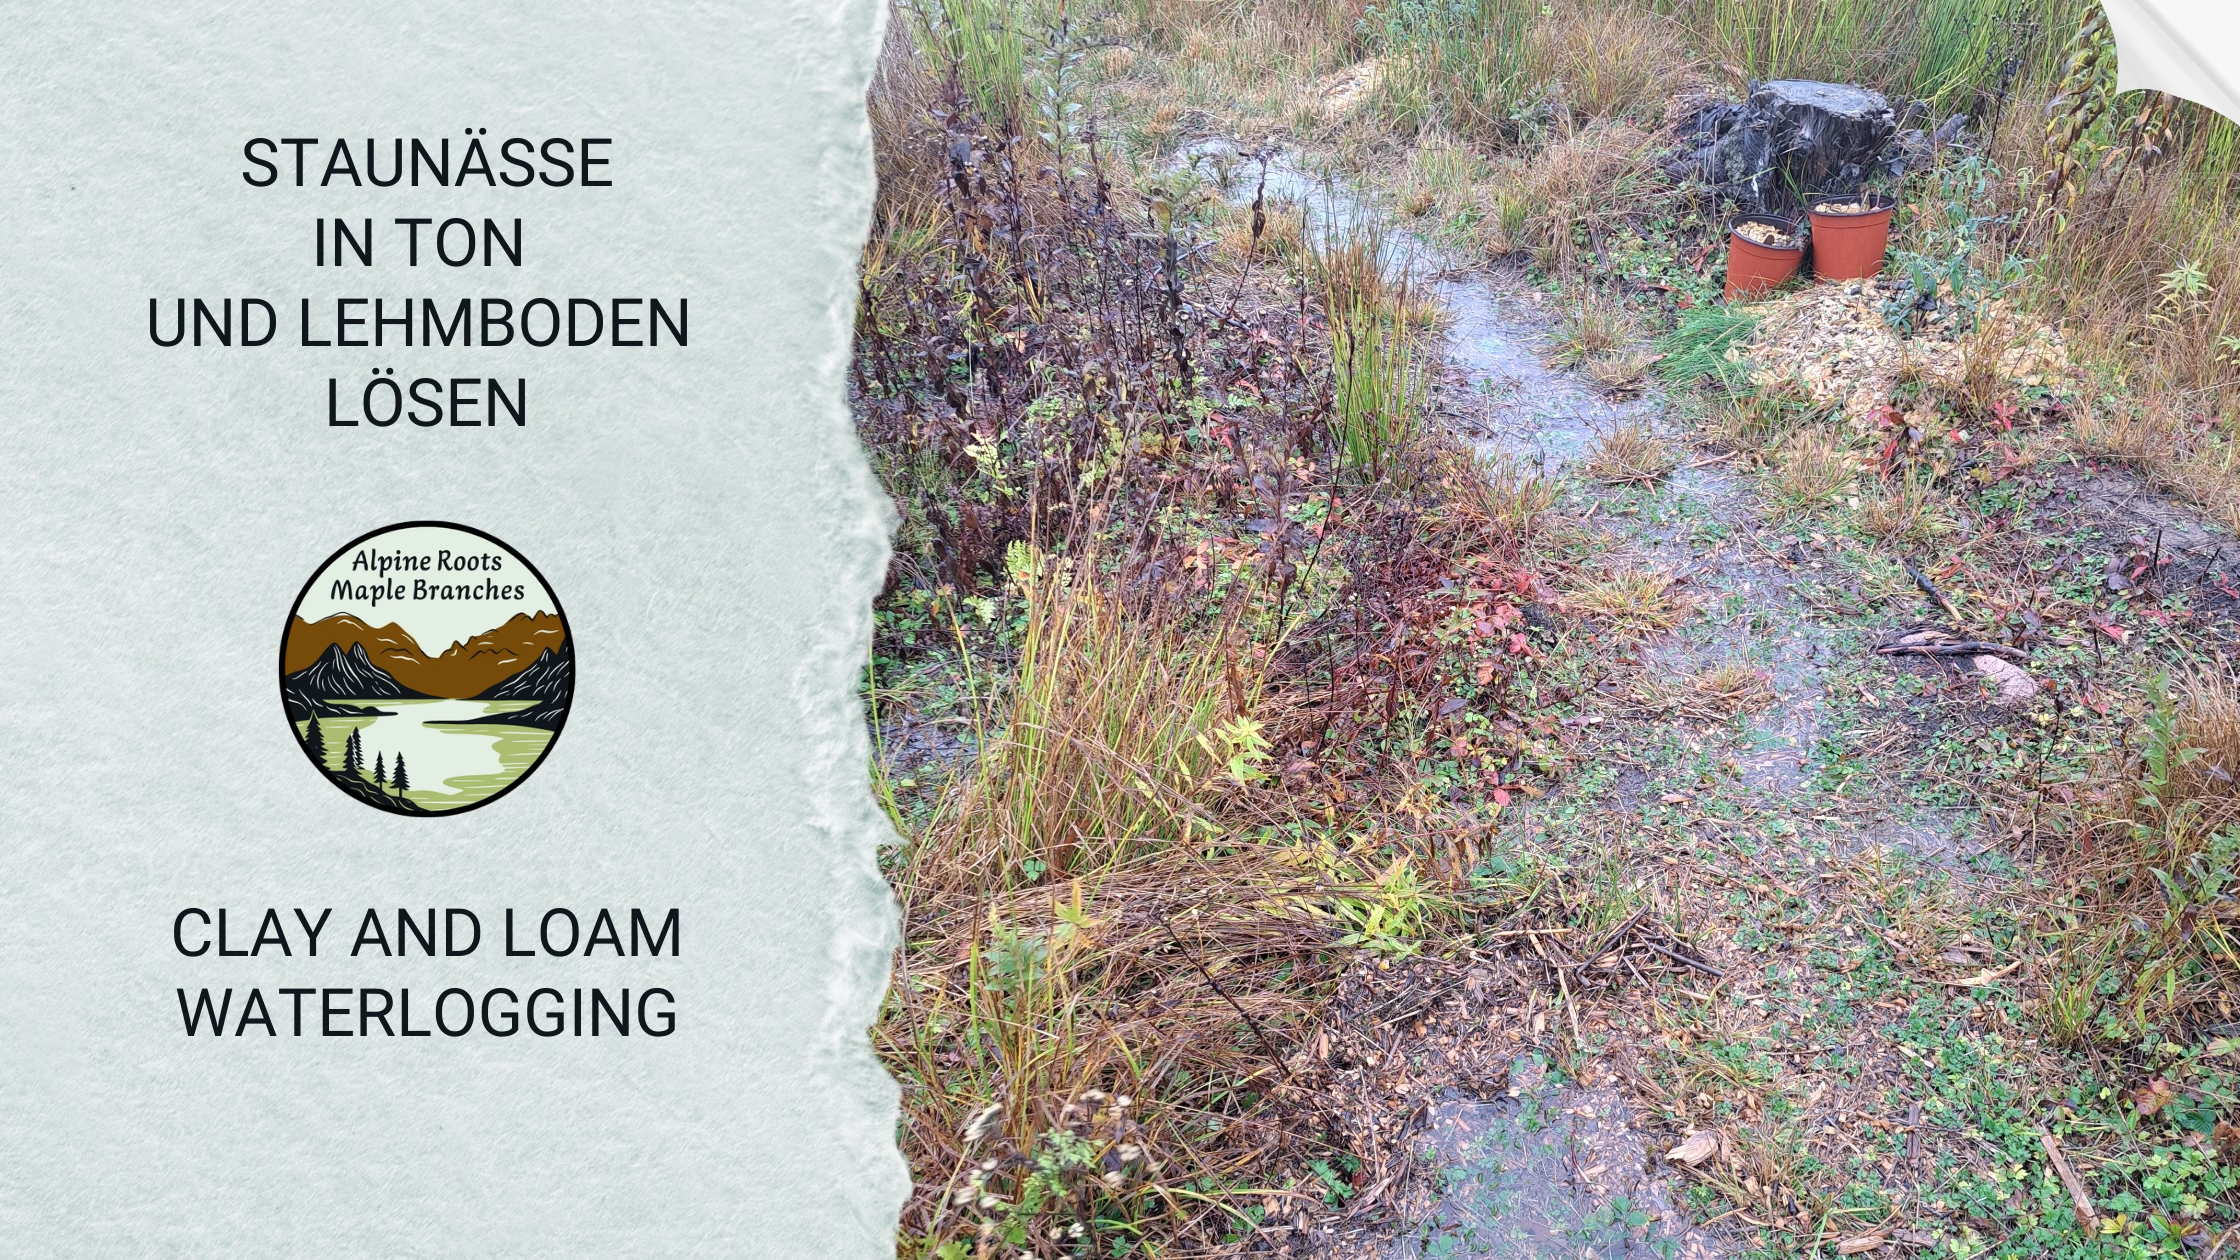
You dig a planting hole and everything looks fine at first. Then it slowly fills up, the soil turns glossy, smears, and sticks to your shovel. Two days later, the water is still there.
Clay and loam can store water well, and that is a real advantage. The problem starts when water stays in the root zone for too long, because the soil structure has too few large pores, because a compacted layer slows drainage, or because extra water keeps arriving from above or from the side. When air filled pores disappear, roots run into oxygen stress.
Waterlogging is not fate. It is a signal that water flow and soil structure are not working together right now.
Table of Contents
What waterlogging looks like in practice
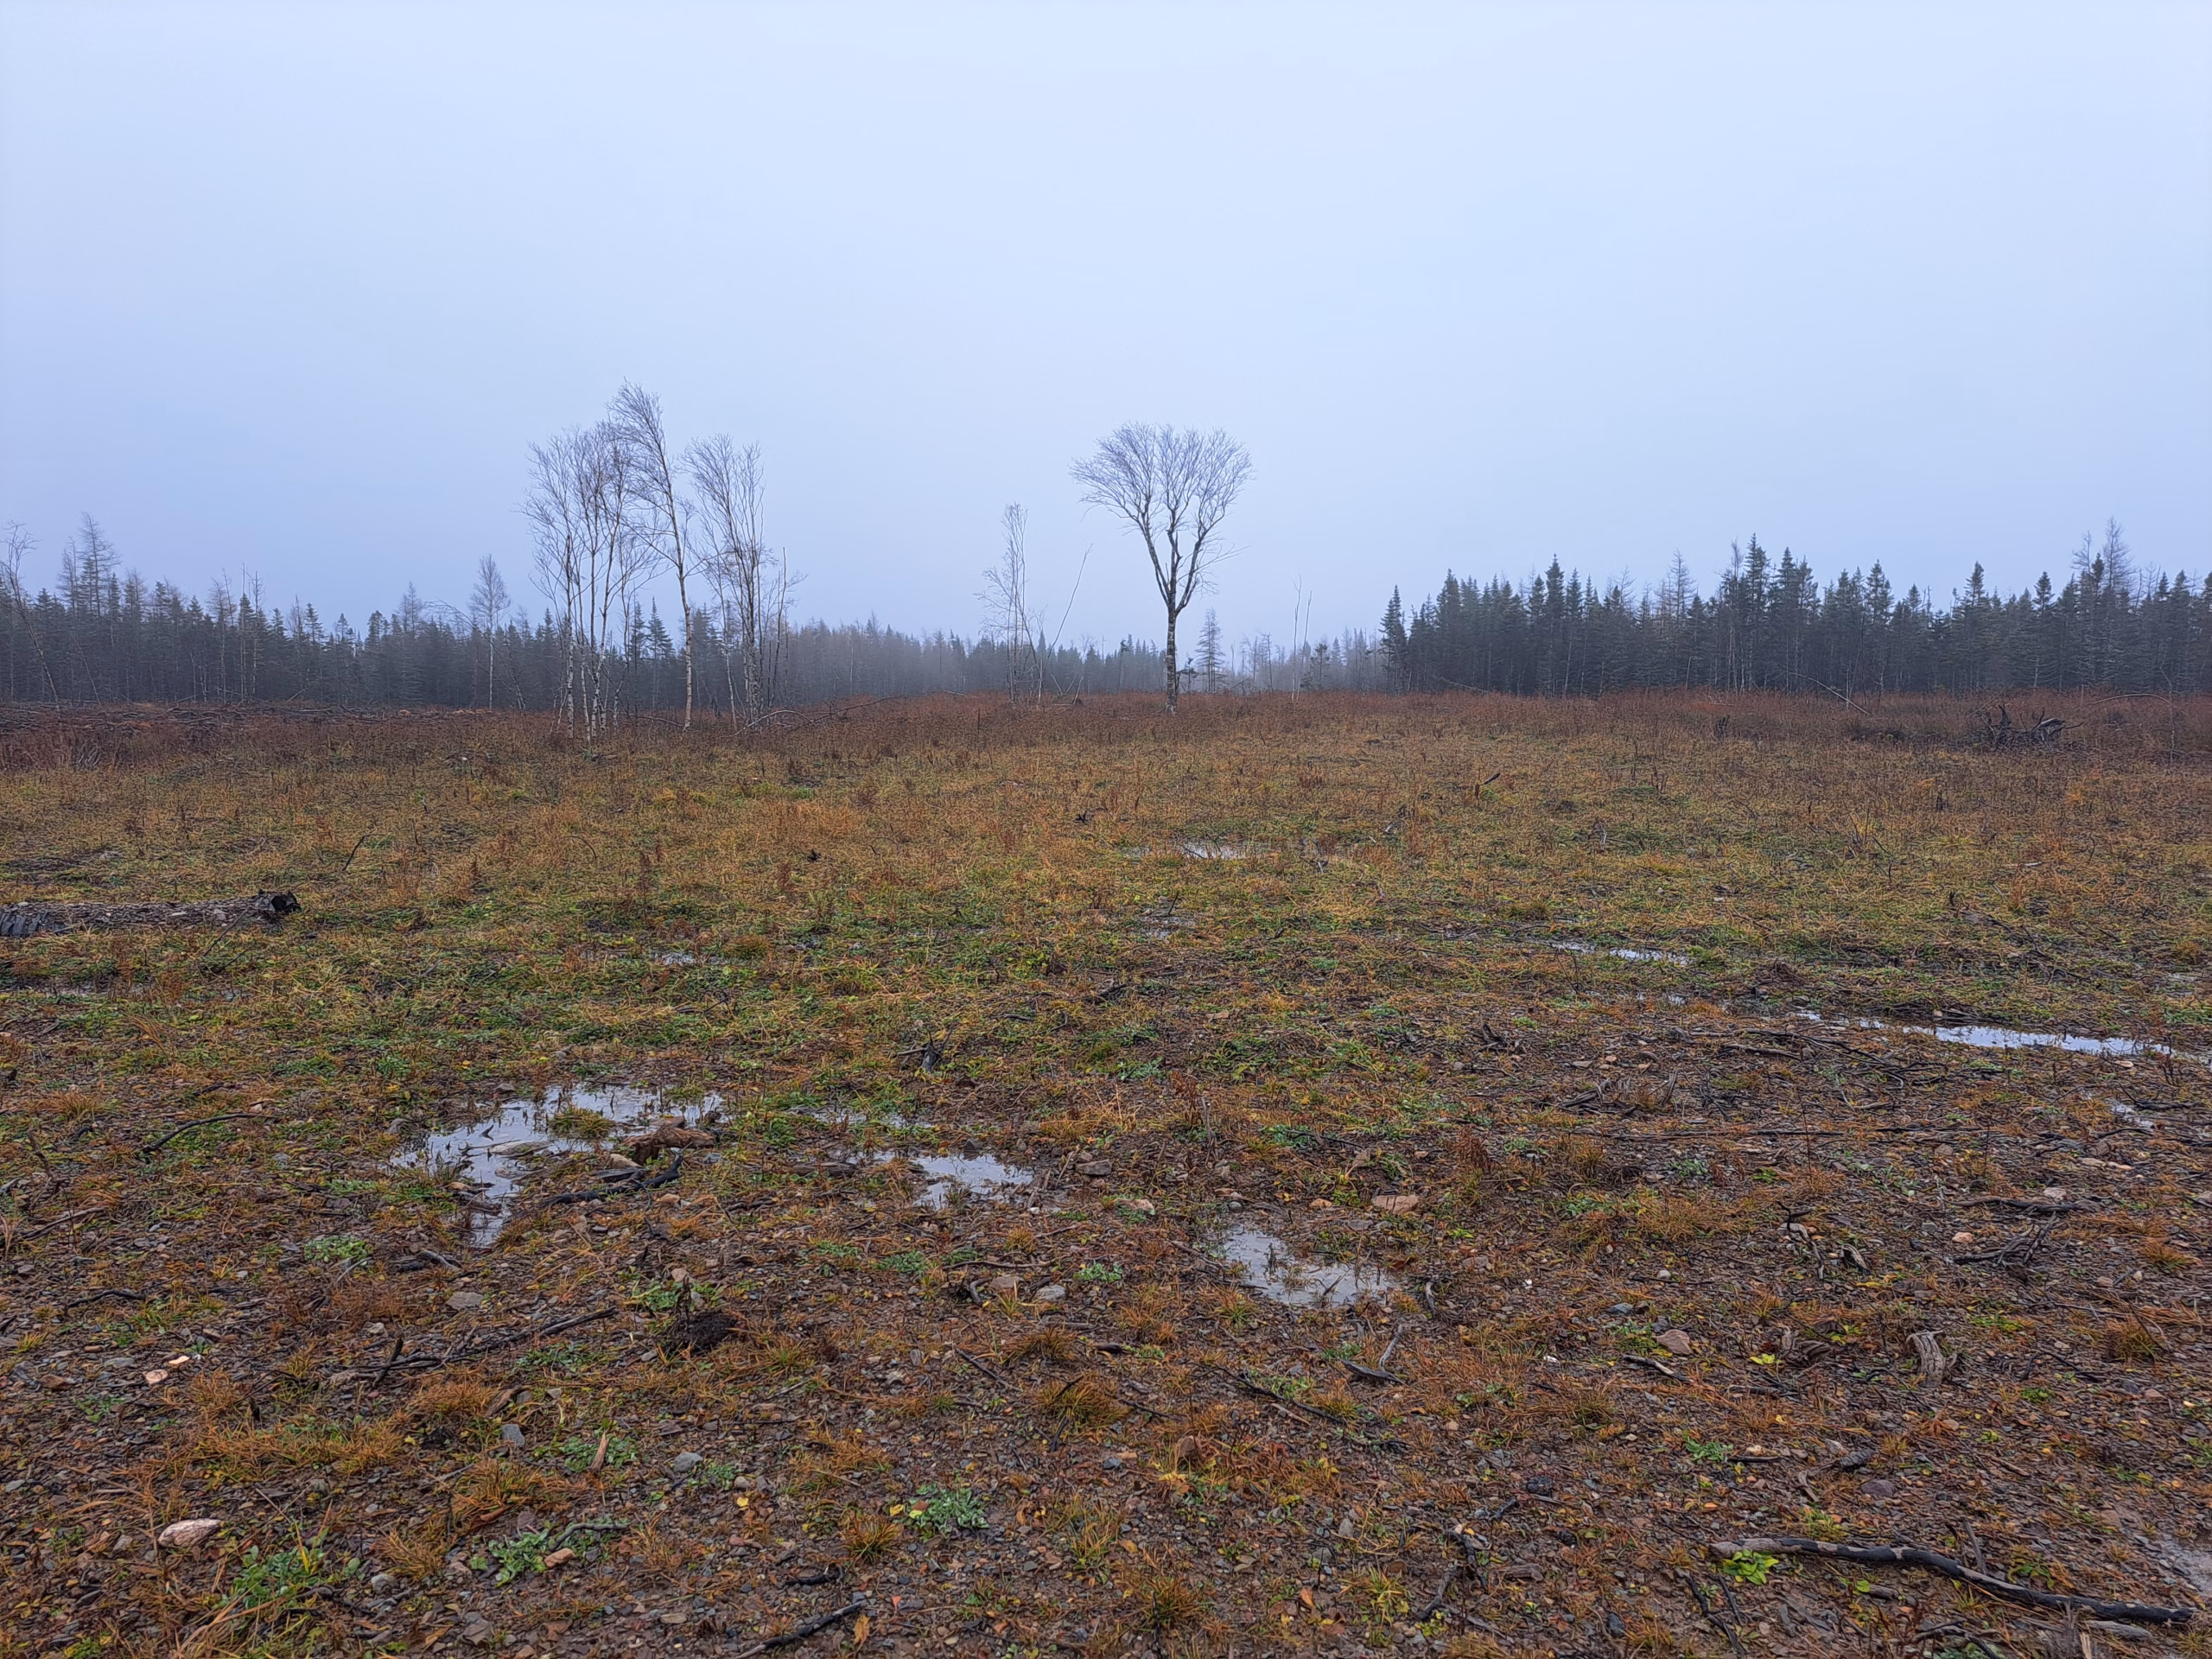
Waterlogging does not simply mean wet. It means too wet for too long in the wrong place. In many gardens it shows up in slow growth, yellowing leaves, higher root disease pressure, and shallow roots, because plants avoid the permanently saturated zone.
To avoid going in circles, the next step is not construction. The next step is a clean classification. Once you know what kind of water movement dominates, solutions become much more specific.
The first step that matters
Many interventions fail because they are well meant but aimed at the wrong mechanism. A drain pipe cannot help if the soil is so tight that water barely reaches the pipe. Compost alone also cannot solve a problem when water keeps being delivered from above or pushed in from the side.
That is why this article starts with a simple framework. It is not academic, but it is practical, and it prevents the most common wrong turns.
Don’t build first. Classify first
Before you move material or install anything, you need clear answers to two questions.
- Where is the water coming from,
- and why does it stay exactly here.
In clay and loam, three causes can dominate, and each demands a different strategy. If you hit the real cause, small interventions can be enough. If you miss it, the problem can persist even after major work.
The three most common causes
This framework is intentionally simple, but it is surprisingly reliable in practice because it focuses on water movement rather than symptoms. In clay and loam, multiple factors often overlap, but there is usually a main driver. Once you identify that main driver, you can prioritize actions instead of juggling ten projects at once.
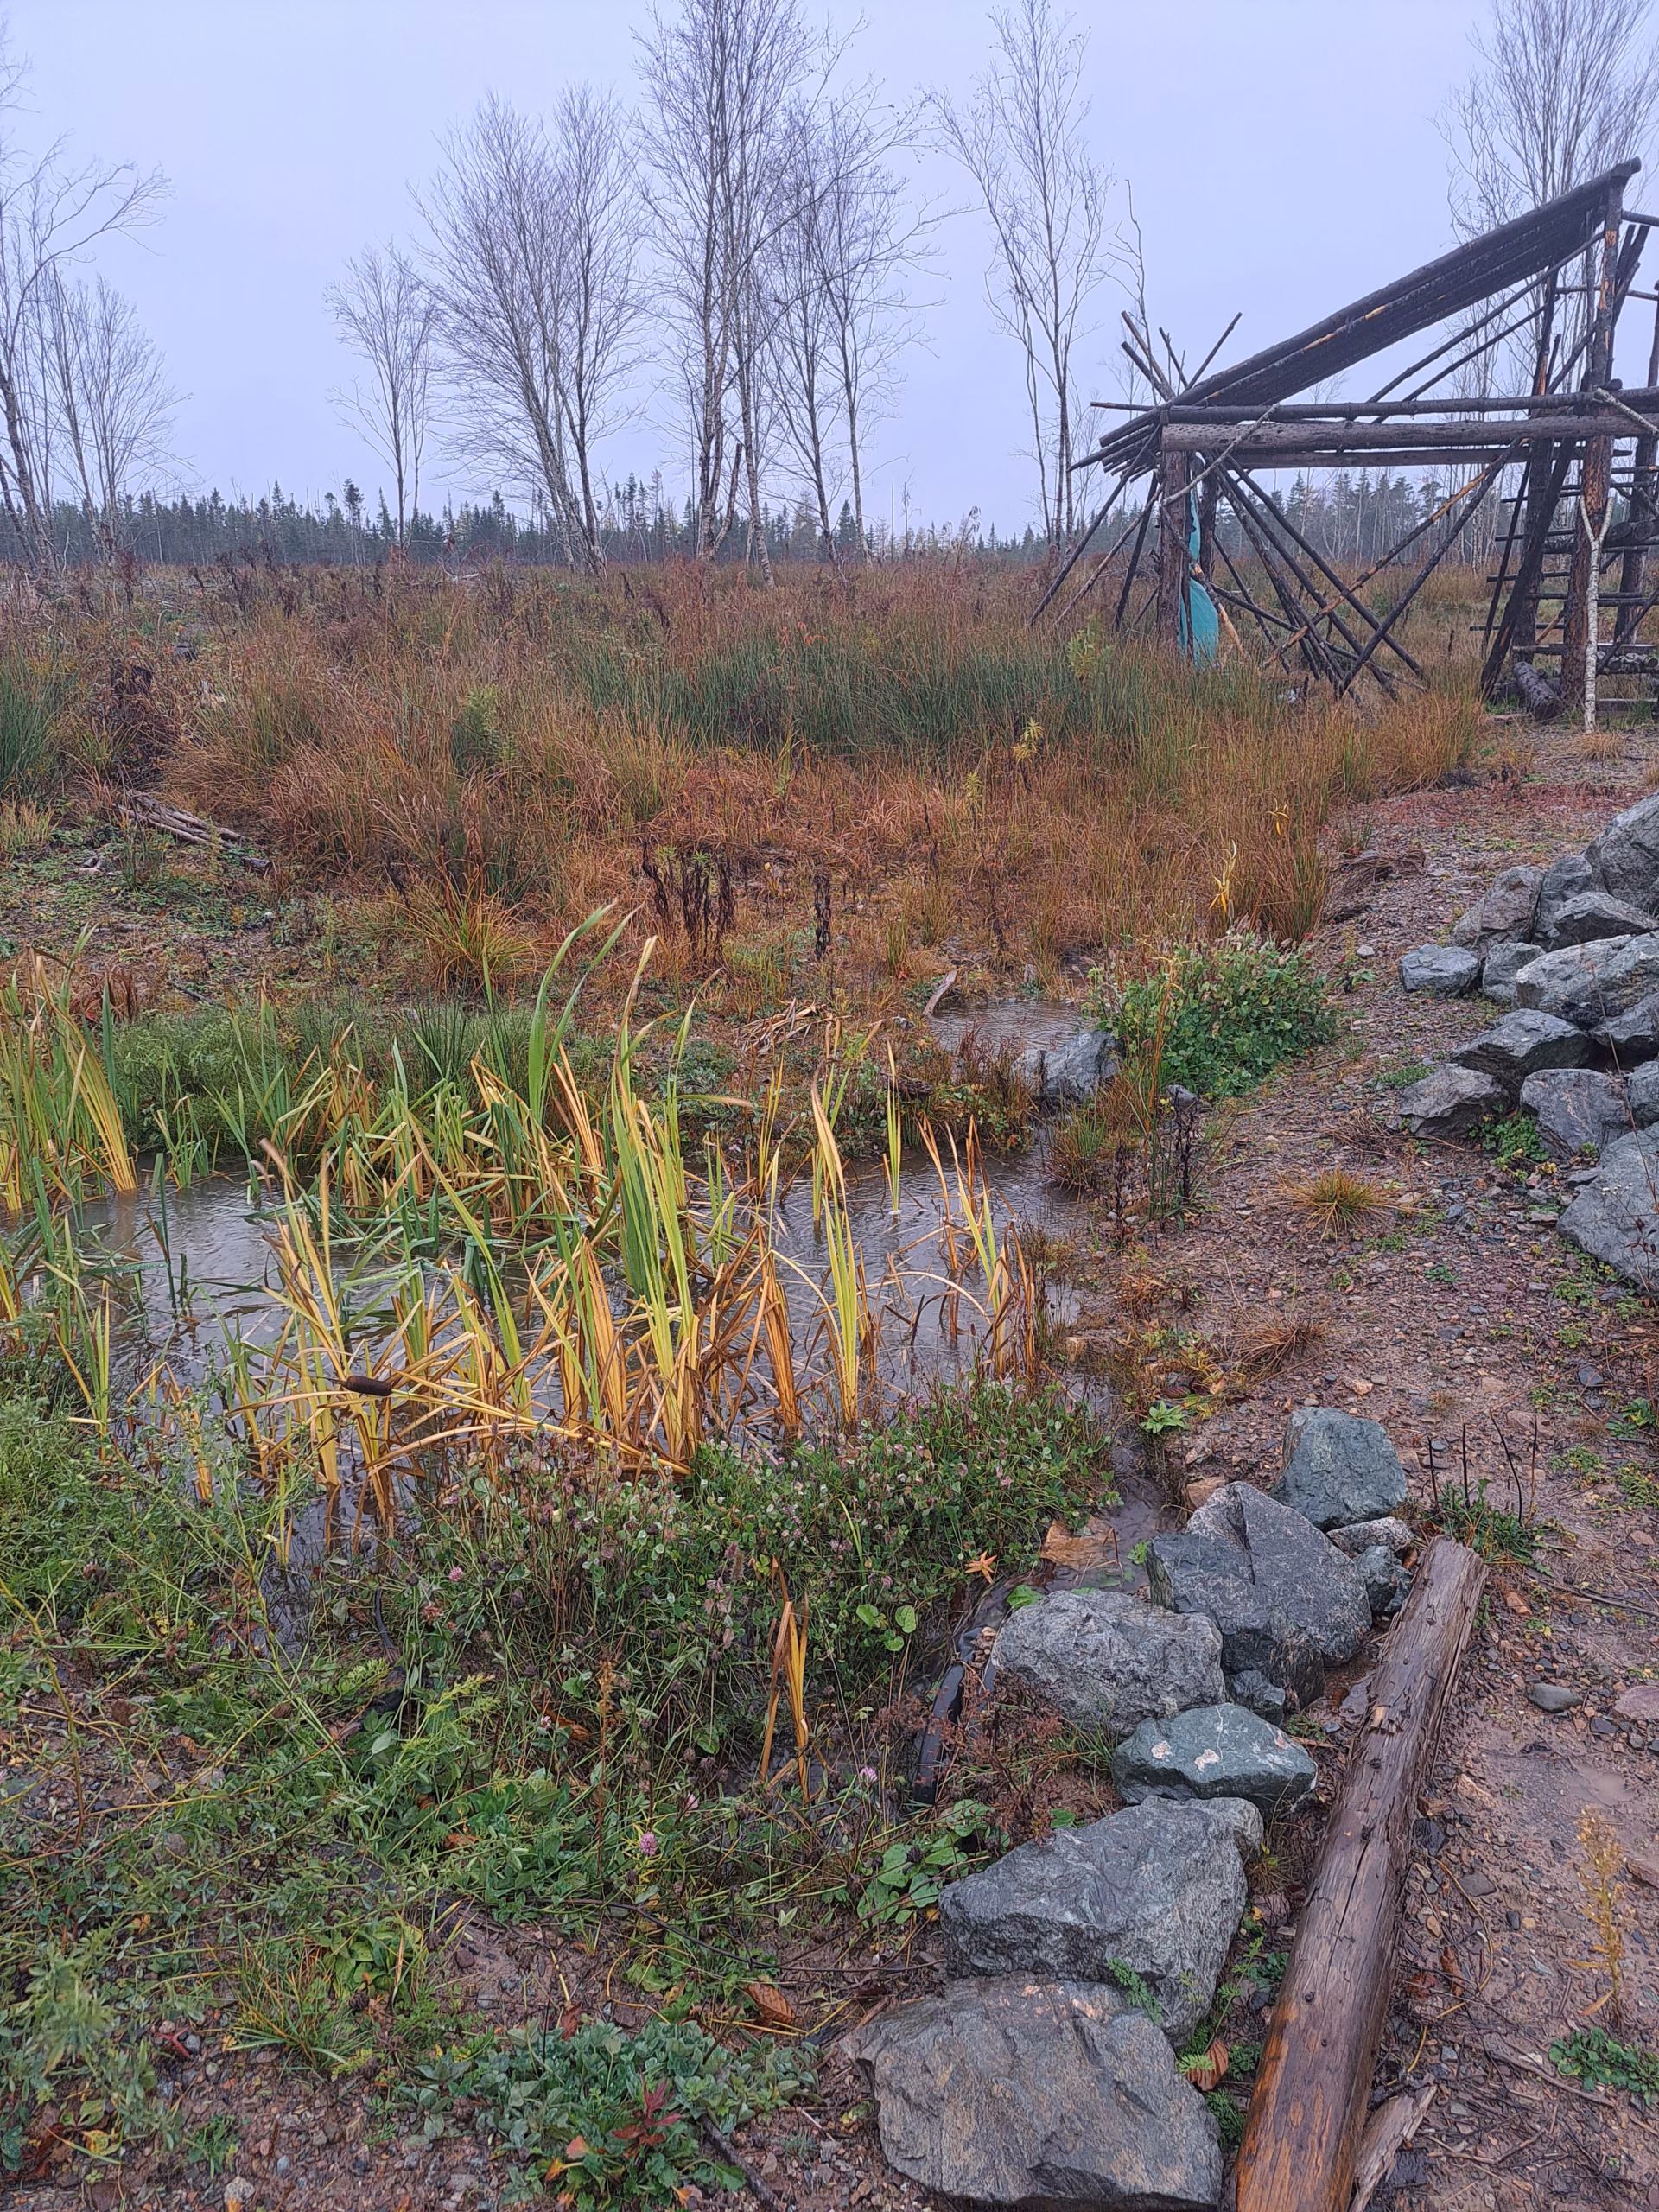
Surface water
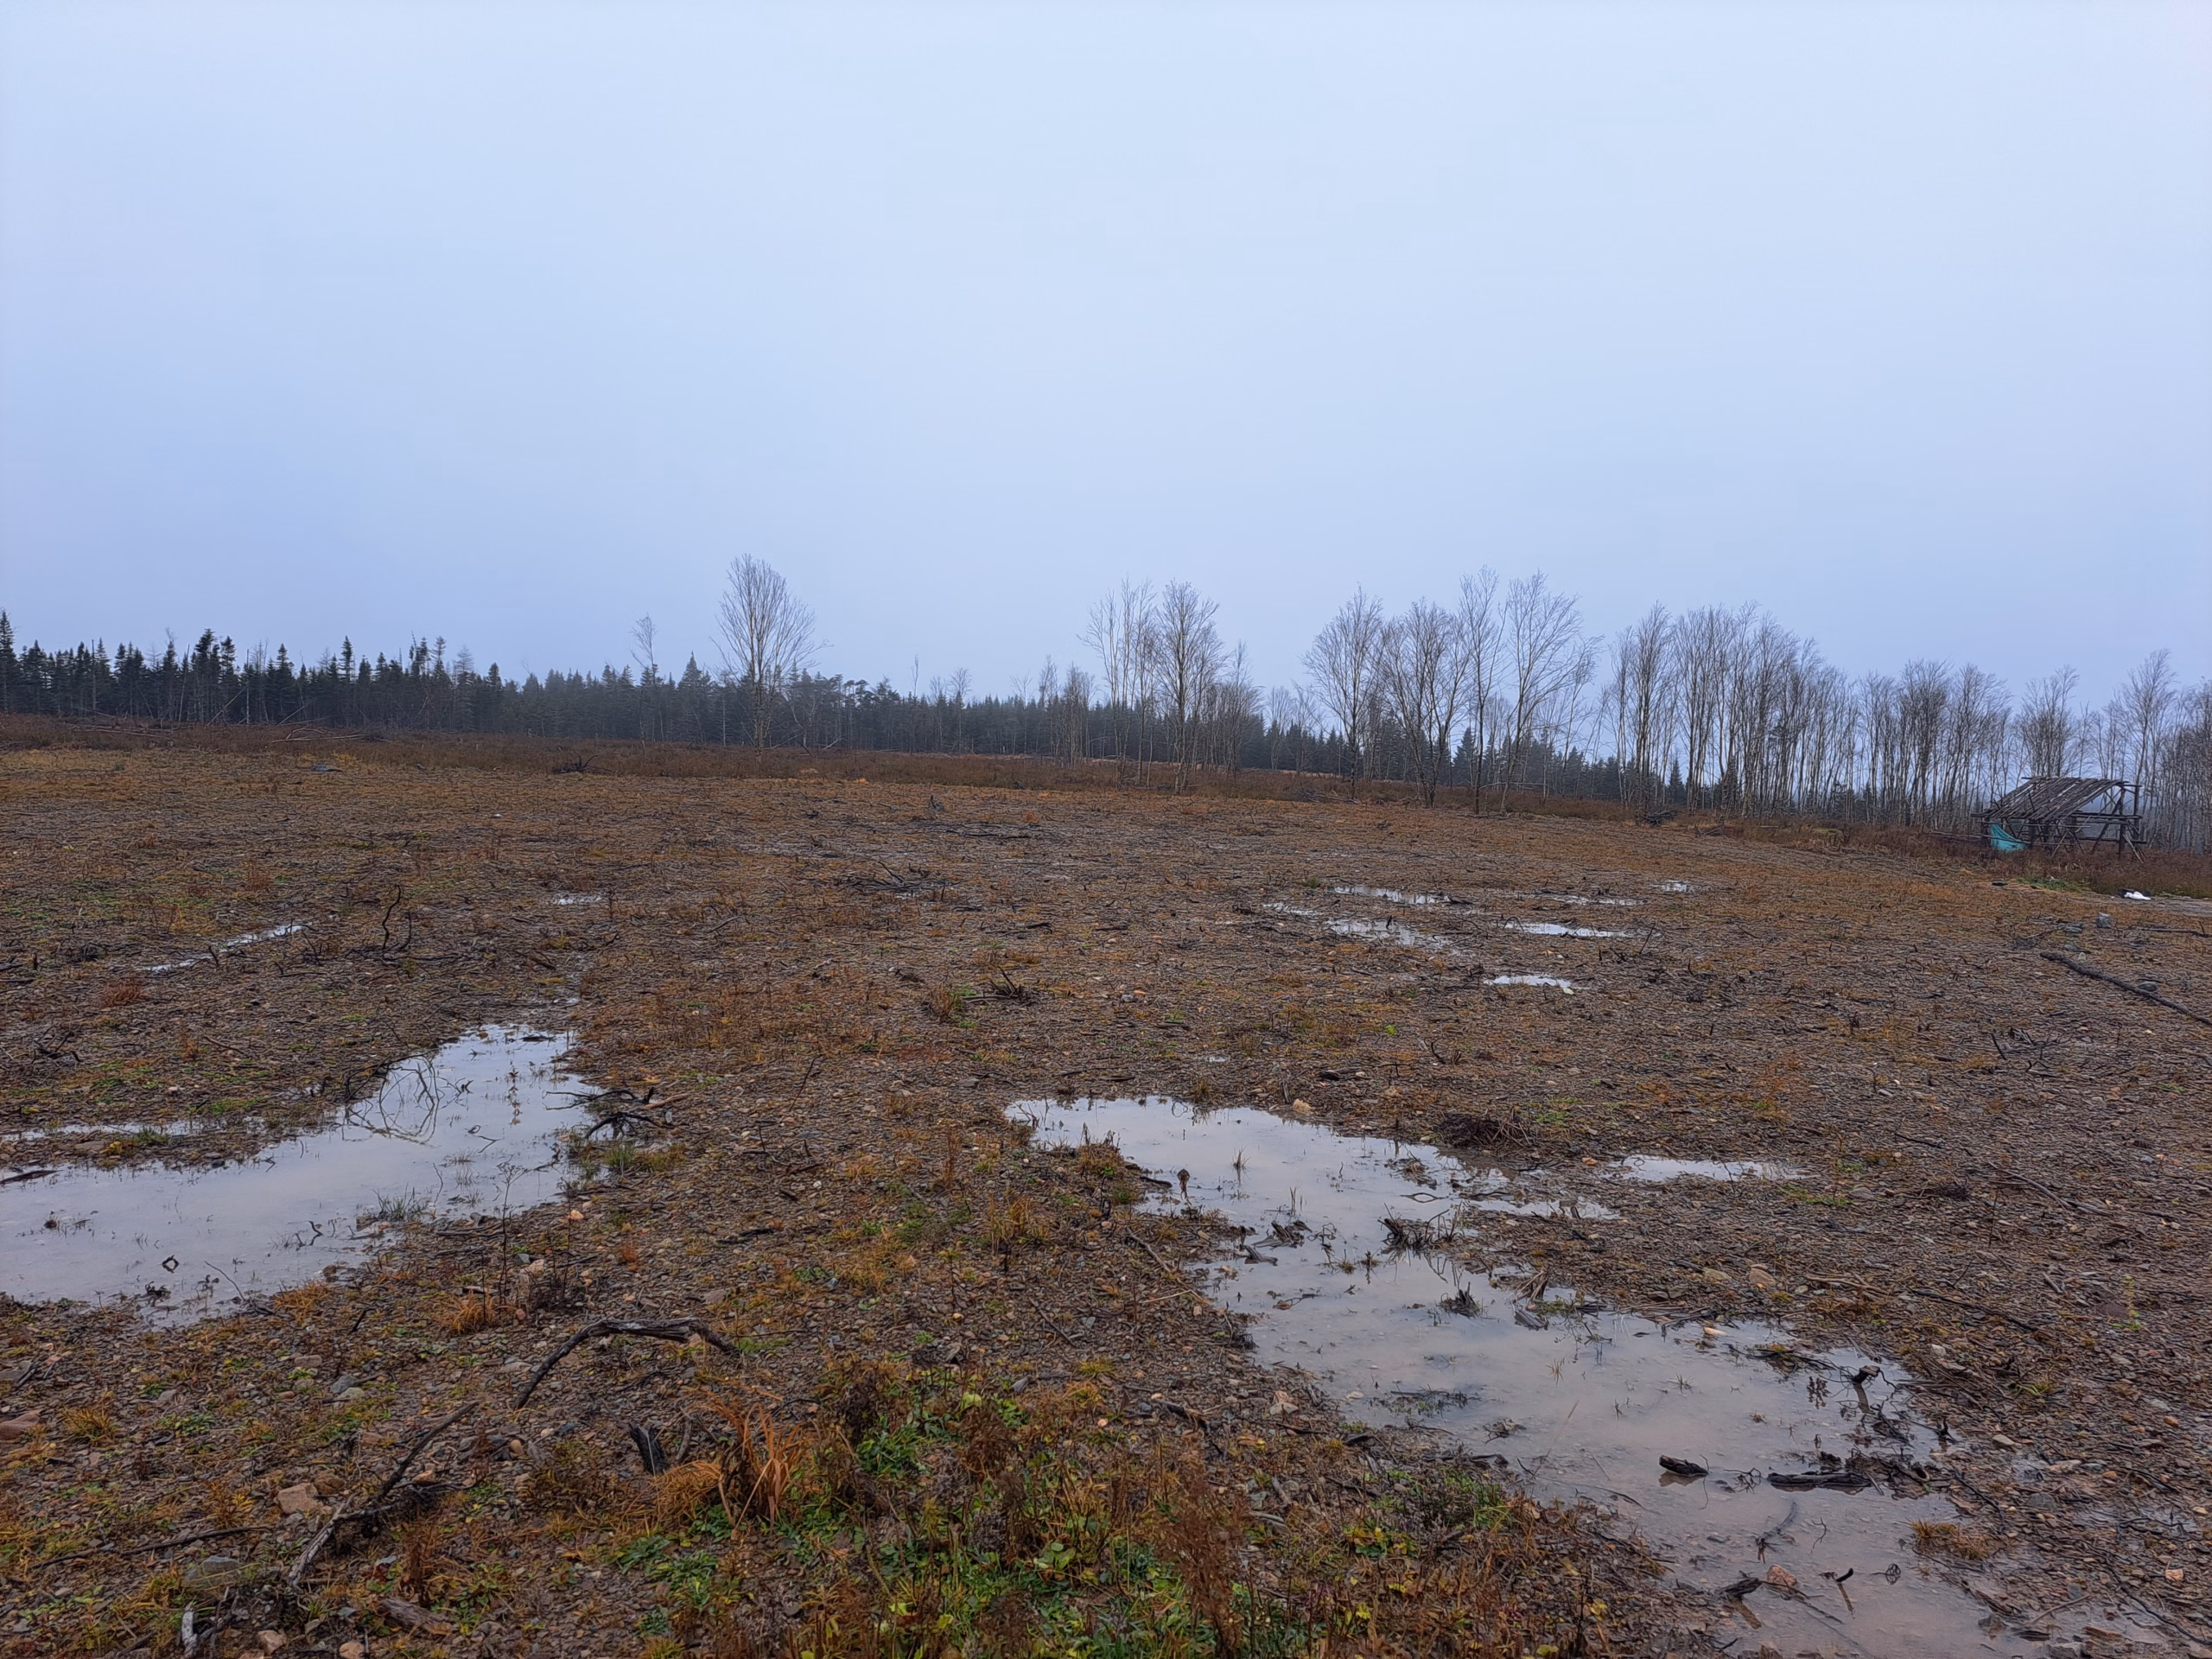
Surface water is the main issue when water is not primarily trapped inside the soil profile, but instead runs visibly across the surface, pools in shallow depressions, or stalls at edges and hard transitions.
This happens especially when the surface is compacted or sealed by crusting, so rainfall cannot infiltrate fast enough. On clay and loam, even a thin crusted layer can act like a lid. You then see puddles, thin water films, or tiny rivulets, even though the soil below could theoretically store more water.
Common amplifiers are hard transitions such as path to bed edges, driveways, patio borders, heavily trafficked strips, or beds that have been worked repeatedly at the wrong moisture level.
A typical pattern is that the problem is worst right after rain, and improves noticeably after two or three dry days. If you observe the site after rainfall, you can often see that surface water has a clear direction, almost like it is following a track.
Near buildings, roof runoff can be a major factor because it is delivered as a point source, not as an even sheet. A single downspout can deliver a large volume in a short time. If that water lands in a small low spot, near a foundation, or at the lowest point of a bed, waterlogging can look like a soil problem even though it is primarily a water routing problem.
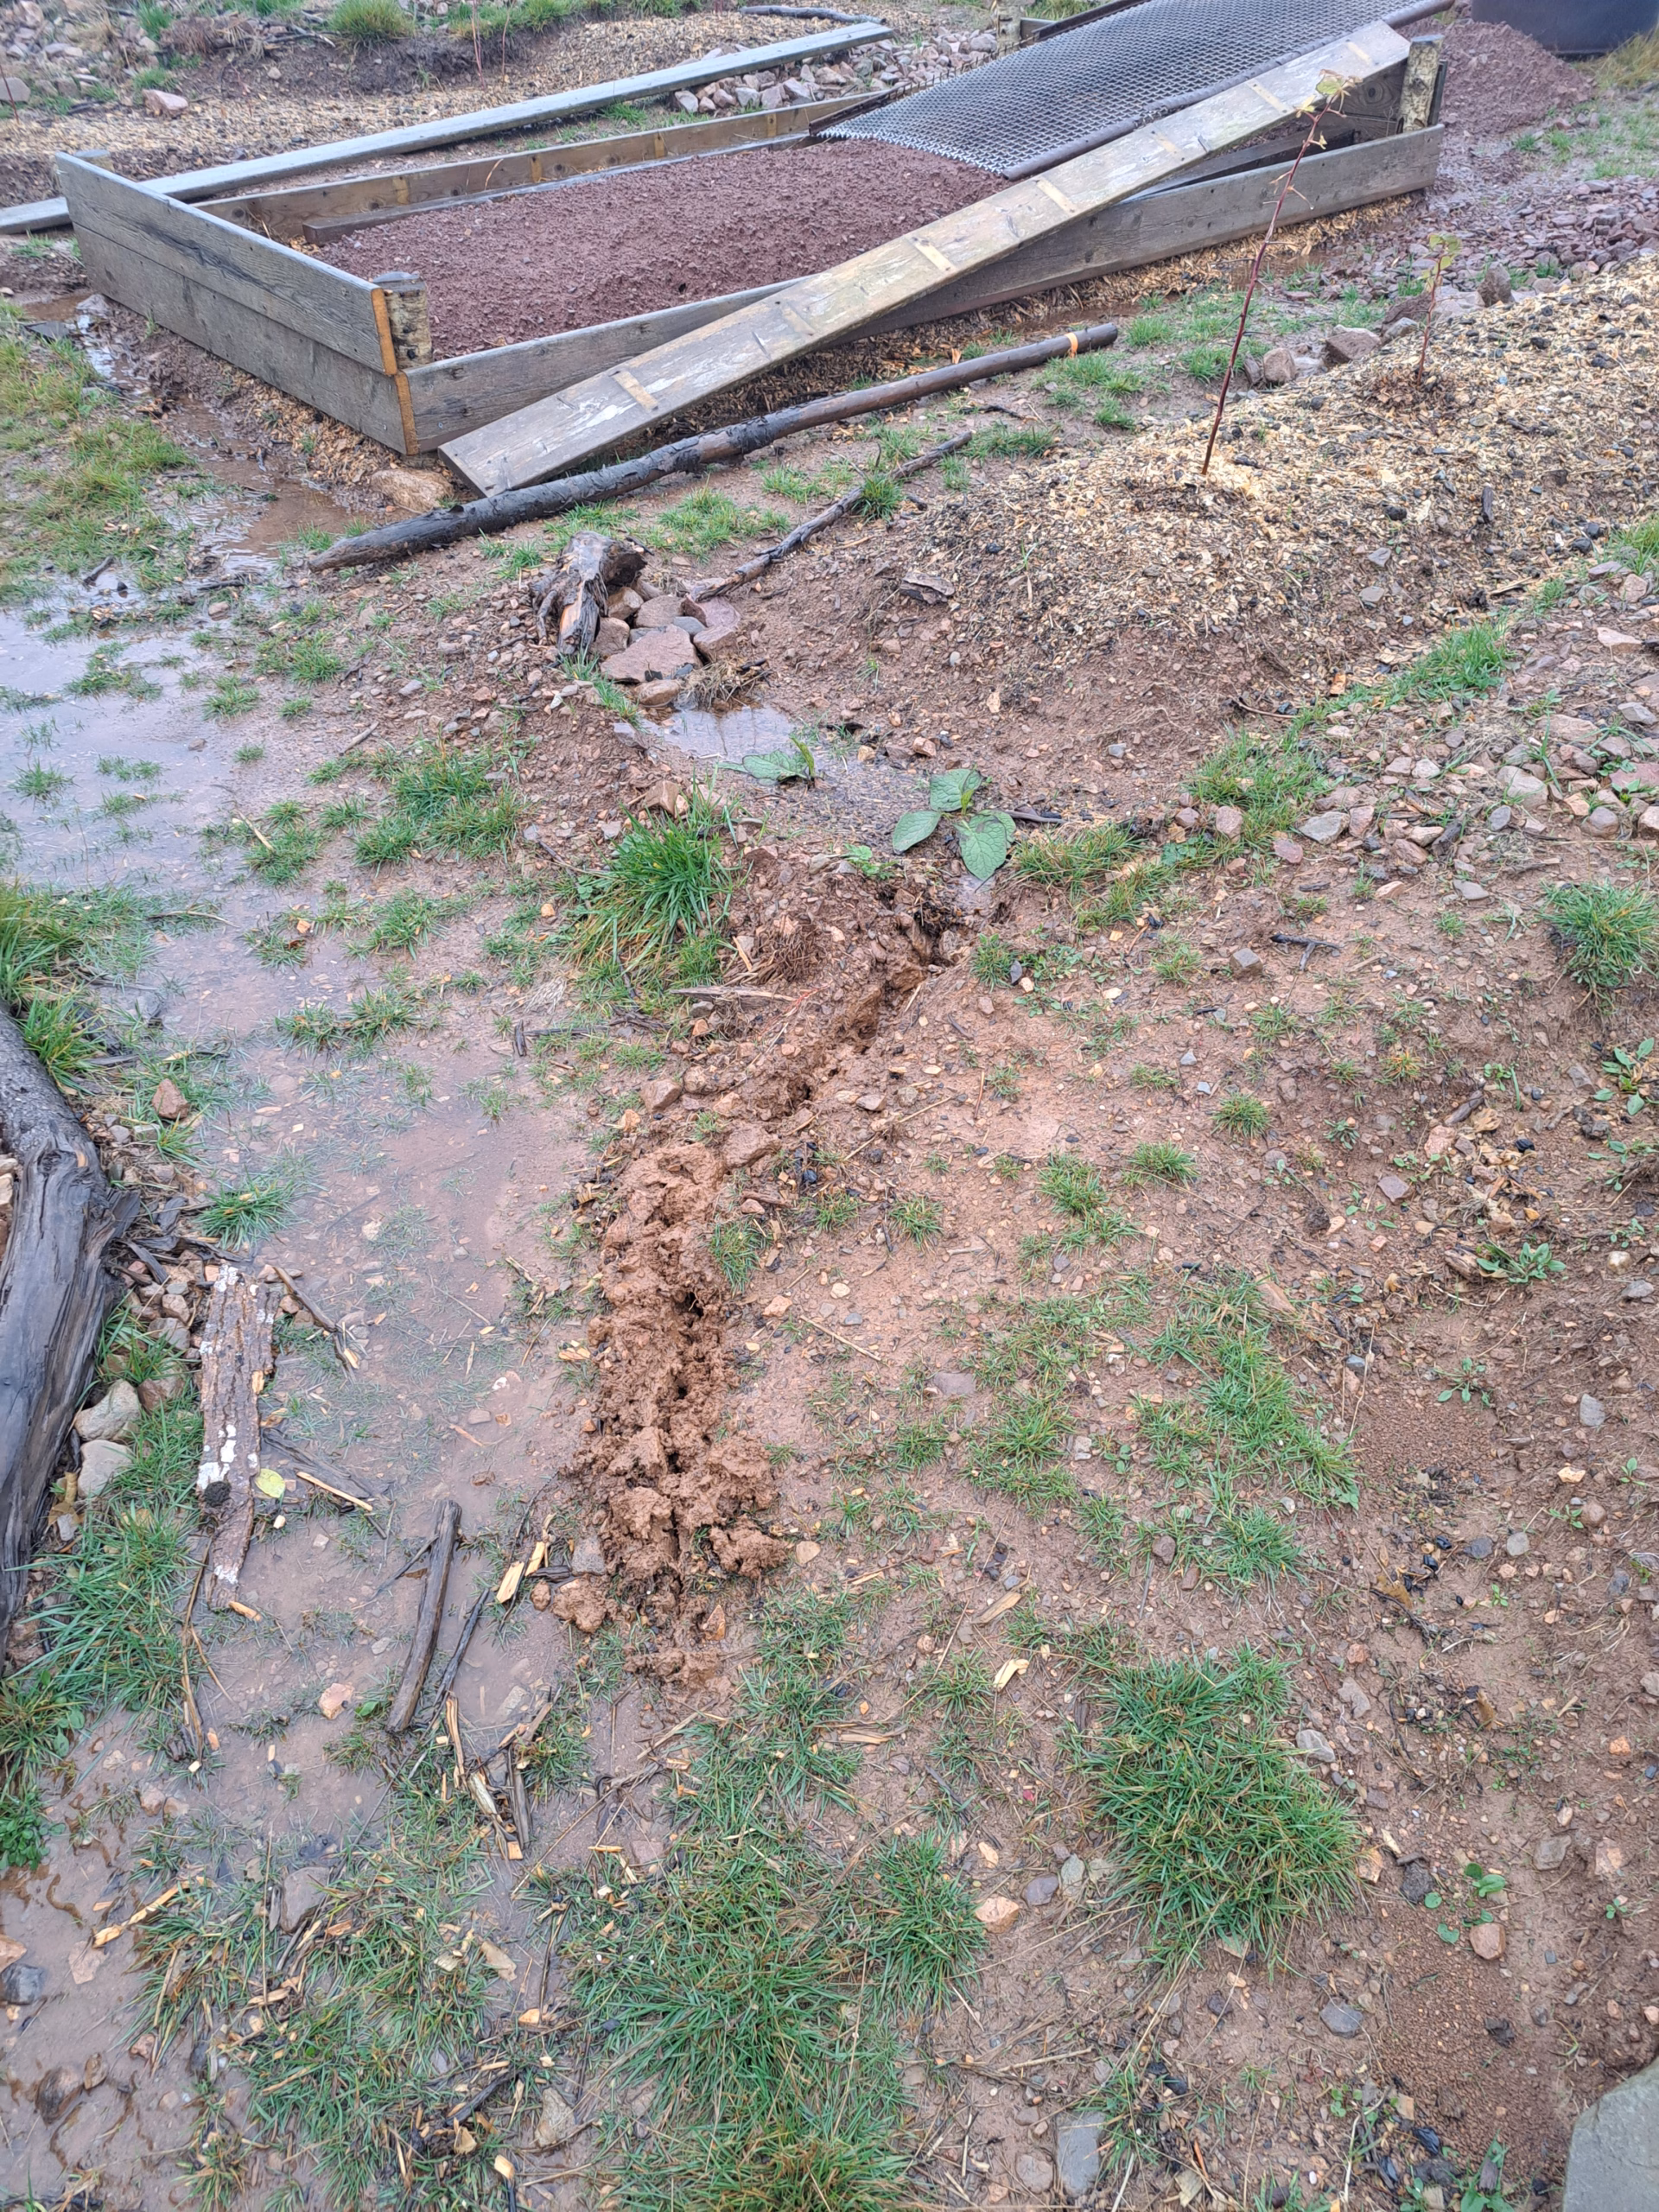
Lateral inflow
Lateral inflow is often the most frustrating type because it can feel like a ghost problem. You can mulch, you can care for the soil, and it still turns wet along the same line because water keeps being pushed in from outside the area you are trying to fix.
That inflow can be hillslope seepage from higher ground, or water moving sideways along a denser horizon. In clay and loam this is common, because when downward movement is slowed, water often shifts sideways along the path of least resistance.
In practice, it often appears as a wet band running across a slope, a persistently damp zone at the foot of a bank, or a strip that is always the last to dry even when the upper slope has already dried out.
A key clue is geometry. Lateral inflow is rarely a single point. It is more often a line or a strip. After rain it can look as if water is coming up from the ground, even though it is entering sideways.
Transitions between soil types can also matter. If a more permeable layer sits above, and a denser layer lies beneath or to the side, water can move along that boundary. That explains why waterlogging sometimes appears away from the lowest point and instead follows a specific edge or contour line.
With this type, the core question is not “How do I loosen the soil everywhere.” The core question is “Where does the water enter, and where can it go safely and deliberately.”
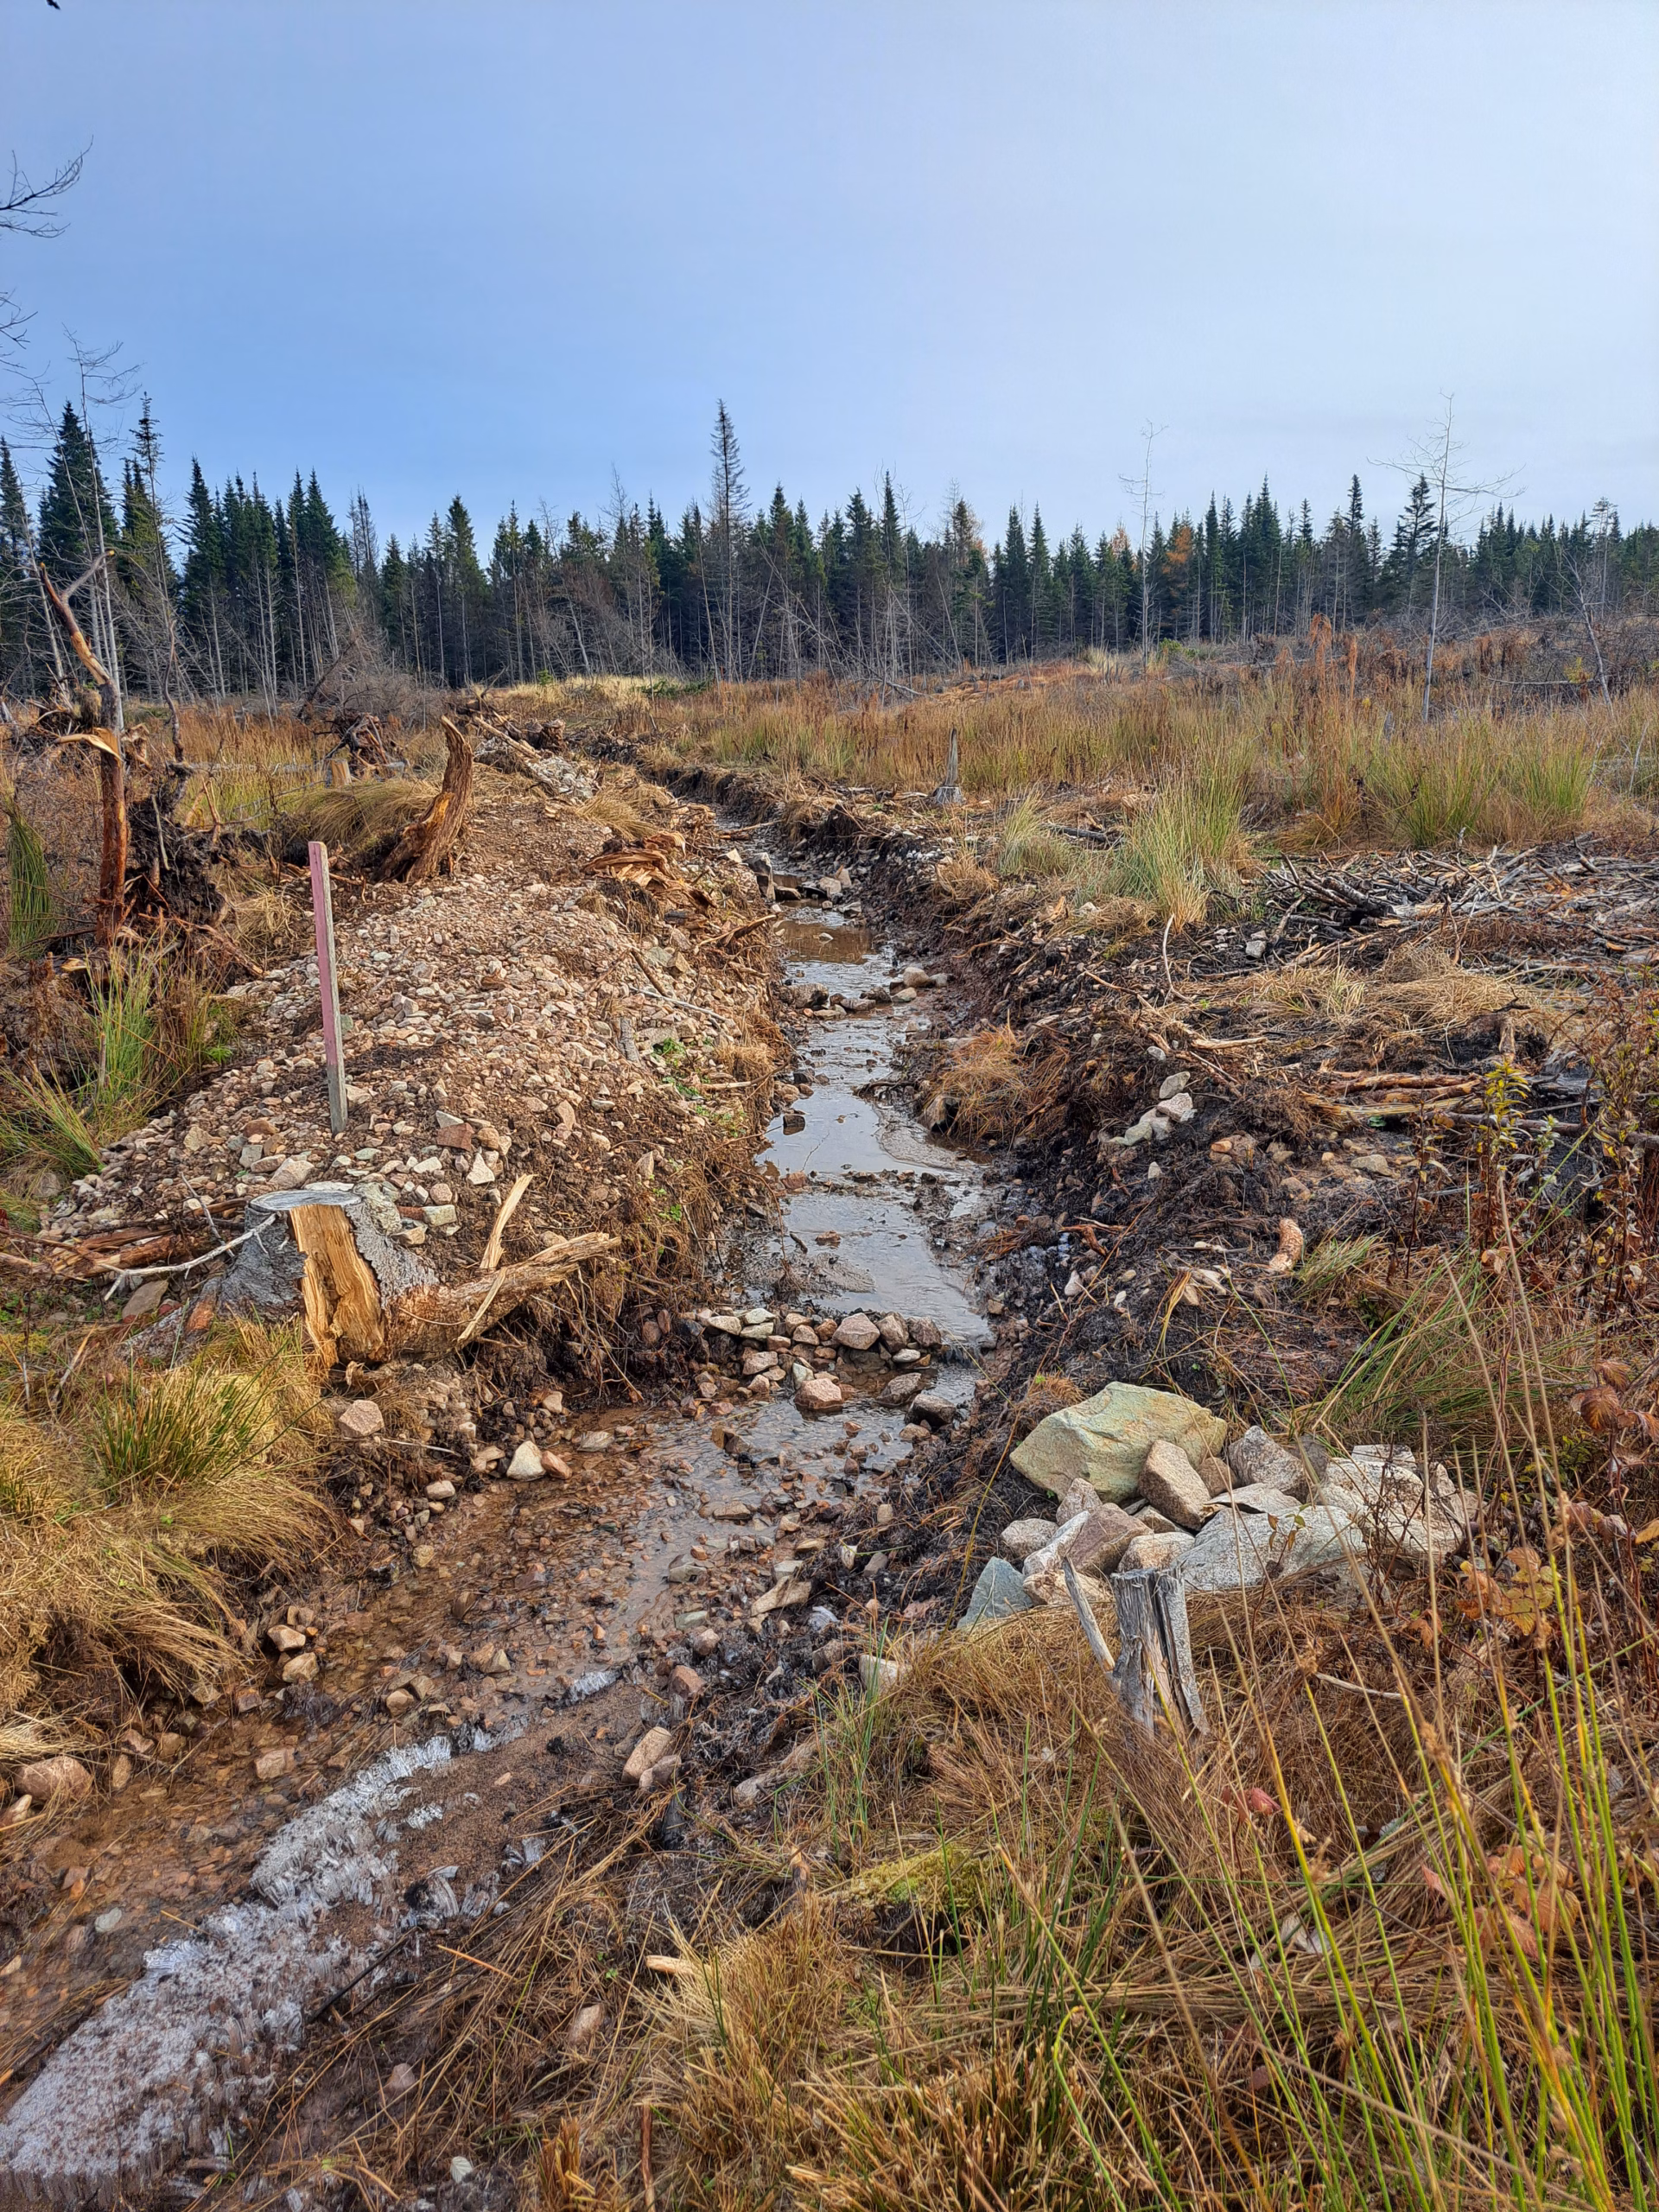
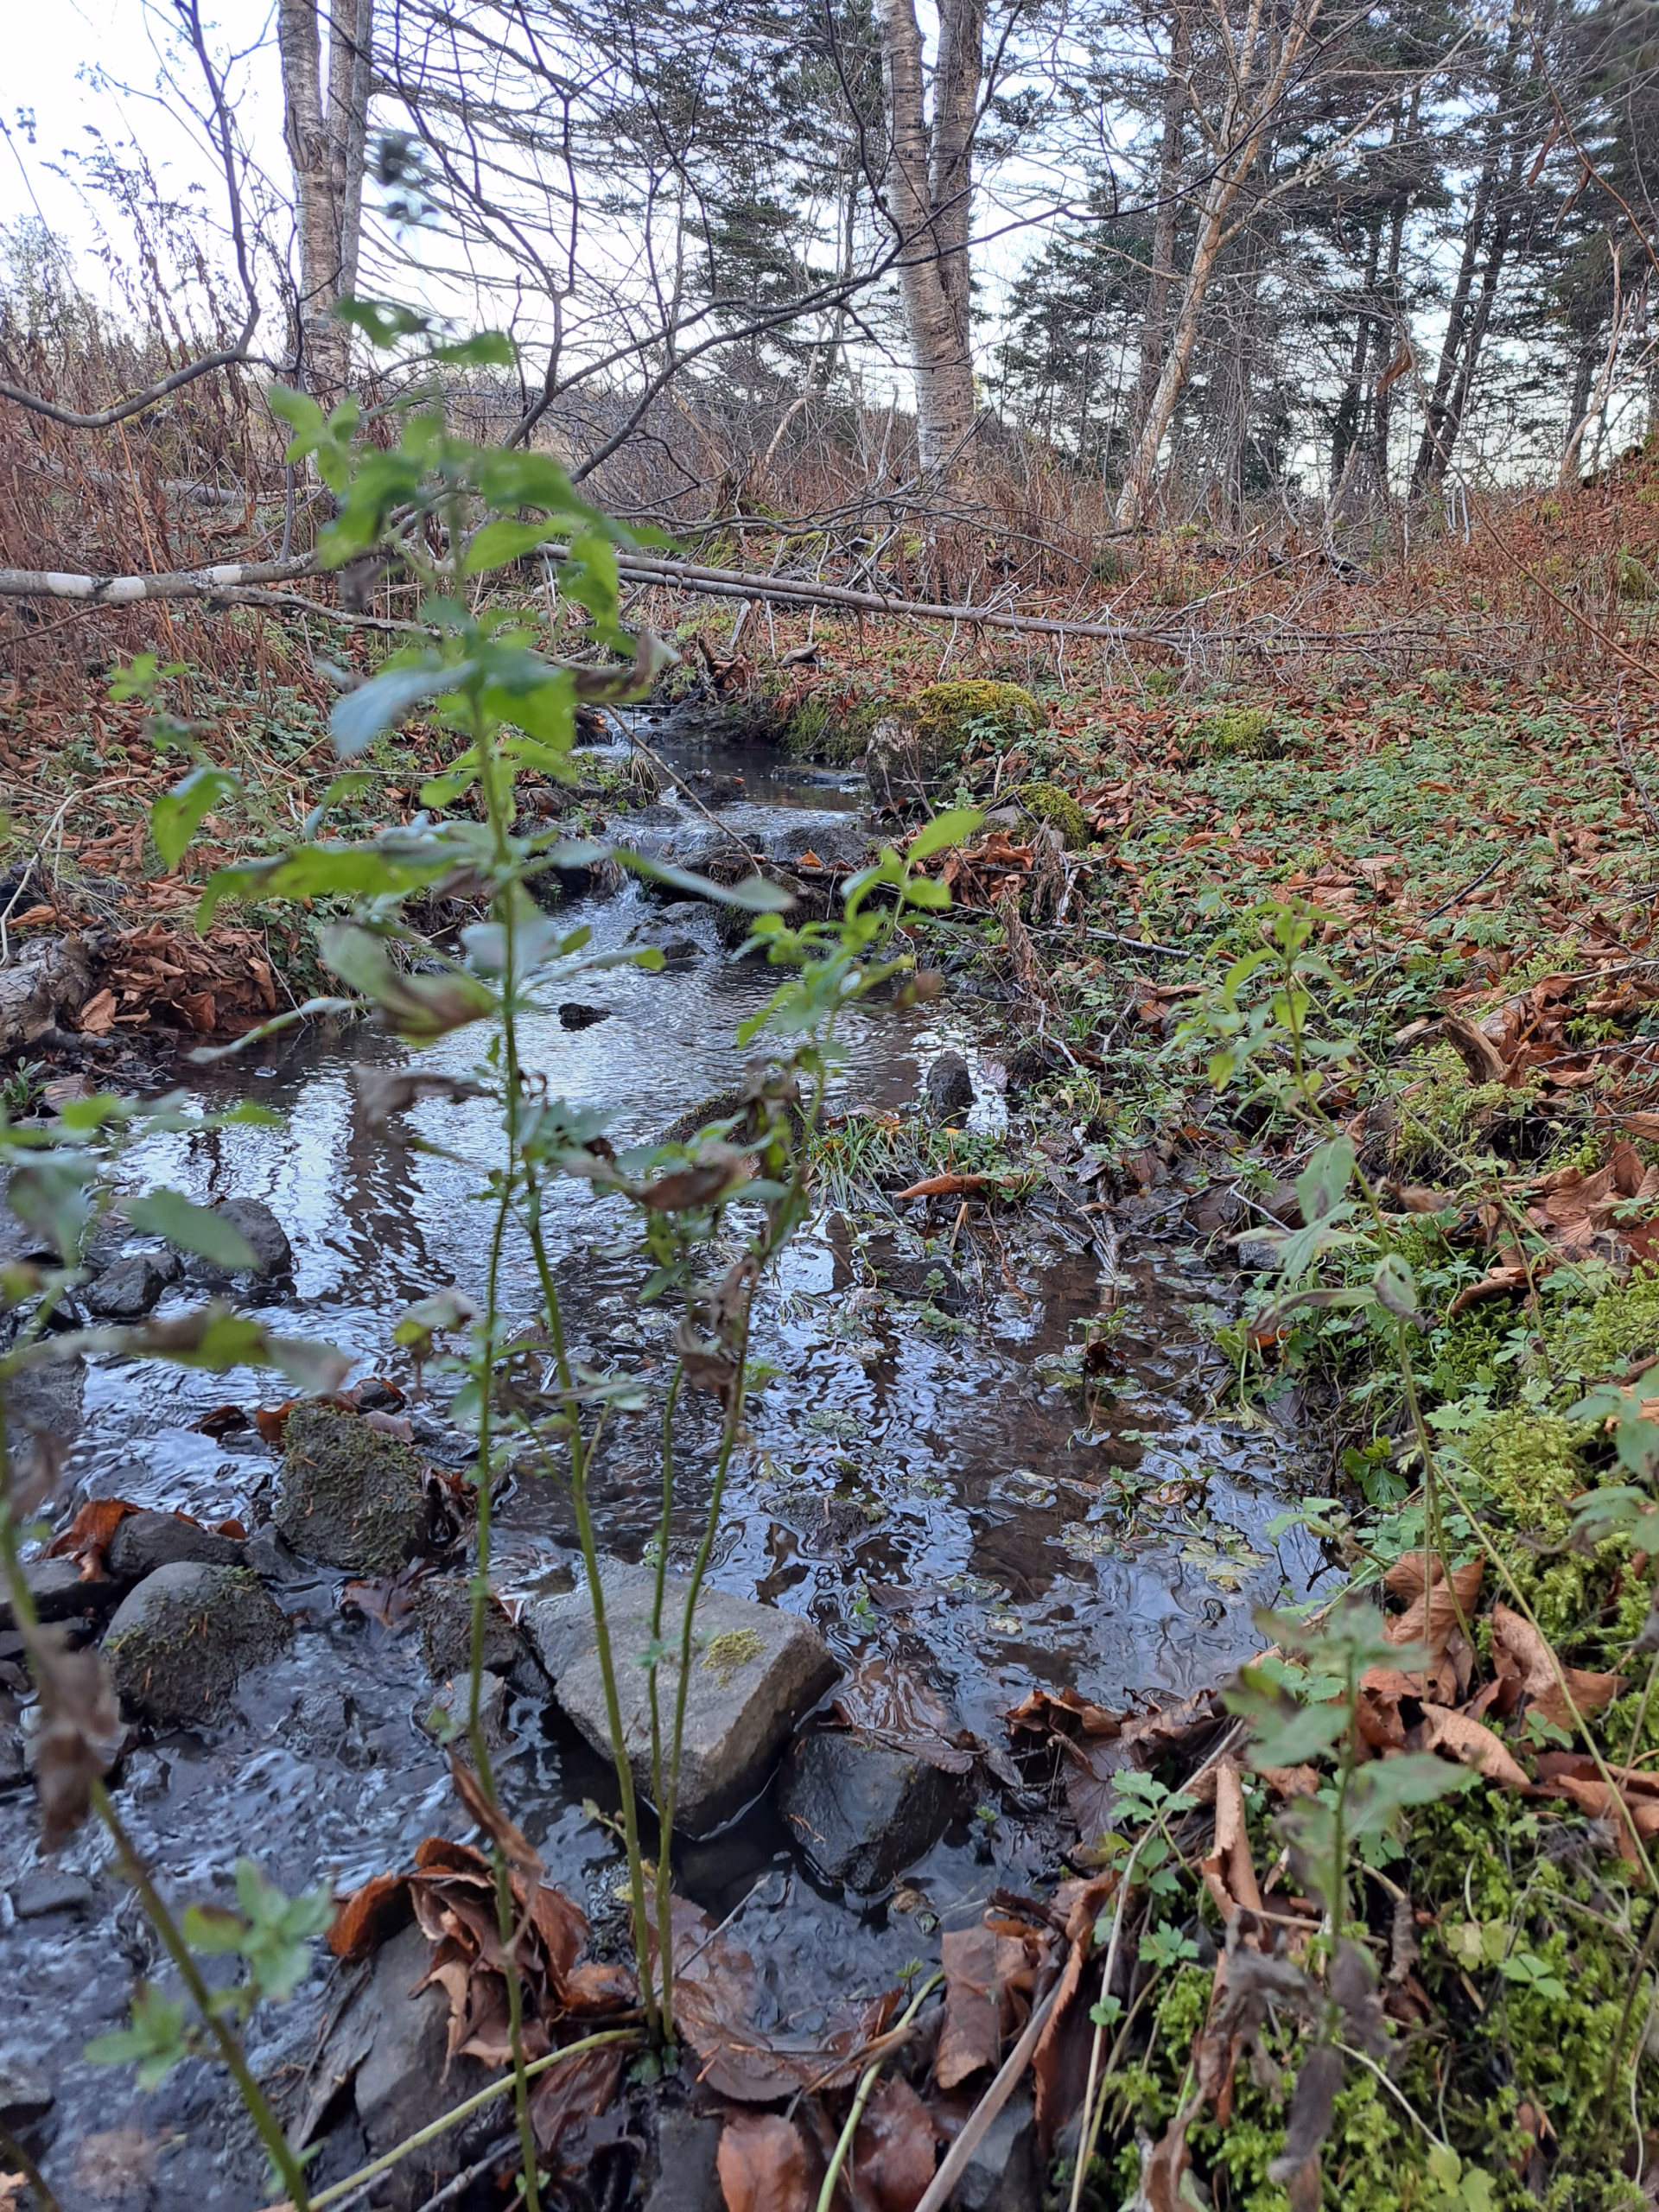
In the video below, you can see how we cut a diversion ditch. (you can read here more about this topic) We used it to intercept lateral water coming from the slope and guide it deliberately into our storage pond.
Perched water above a dense layer
Perched water above a dense layer is extremely common in clay and loam, but it is often overlooked because the surface does not have to look like a depression.
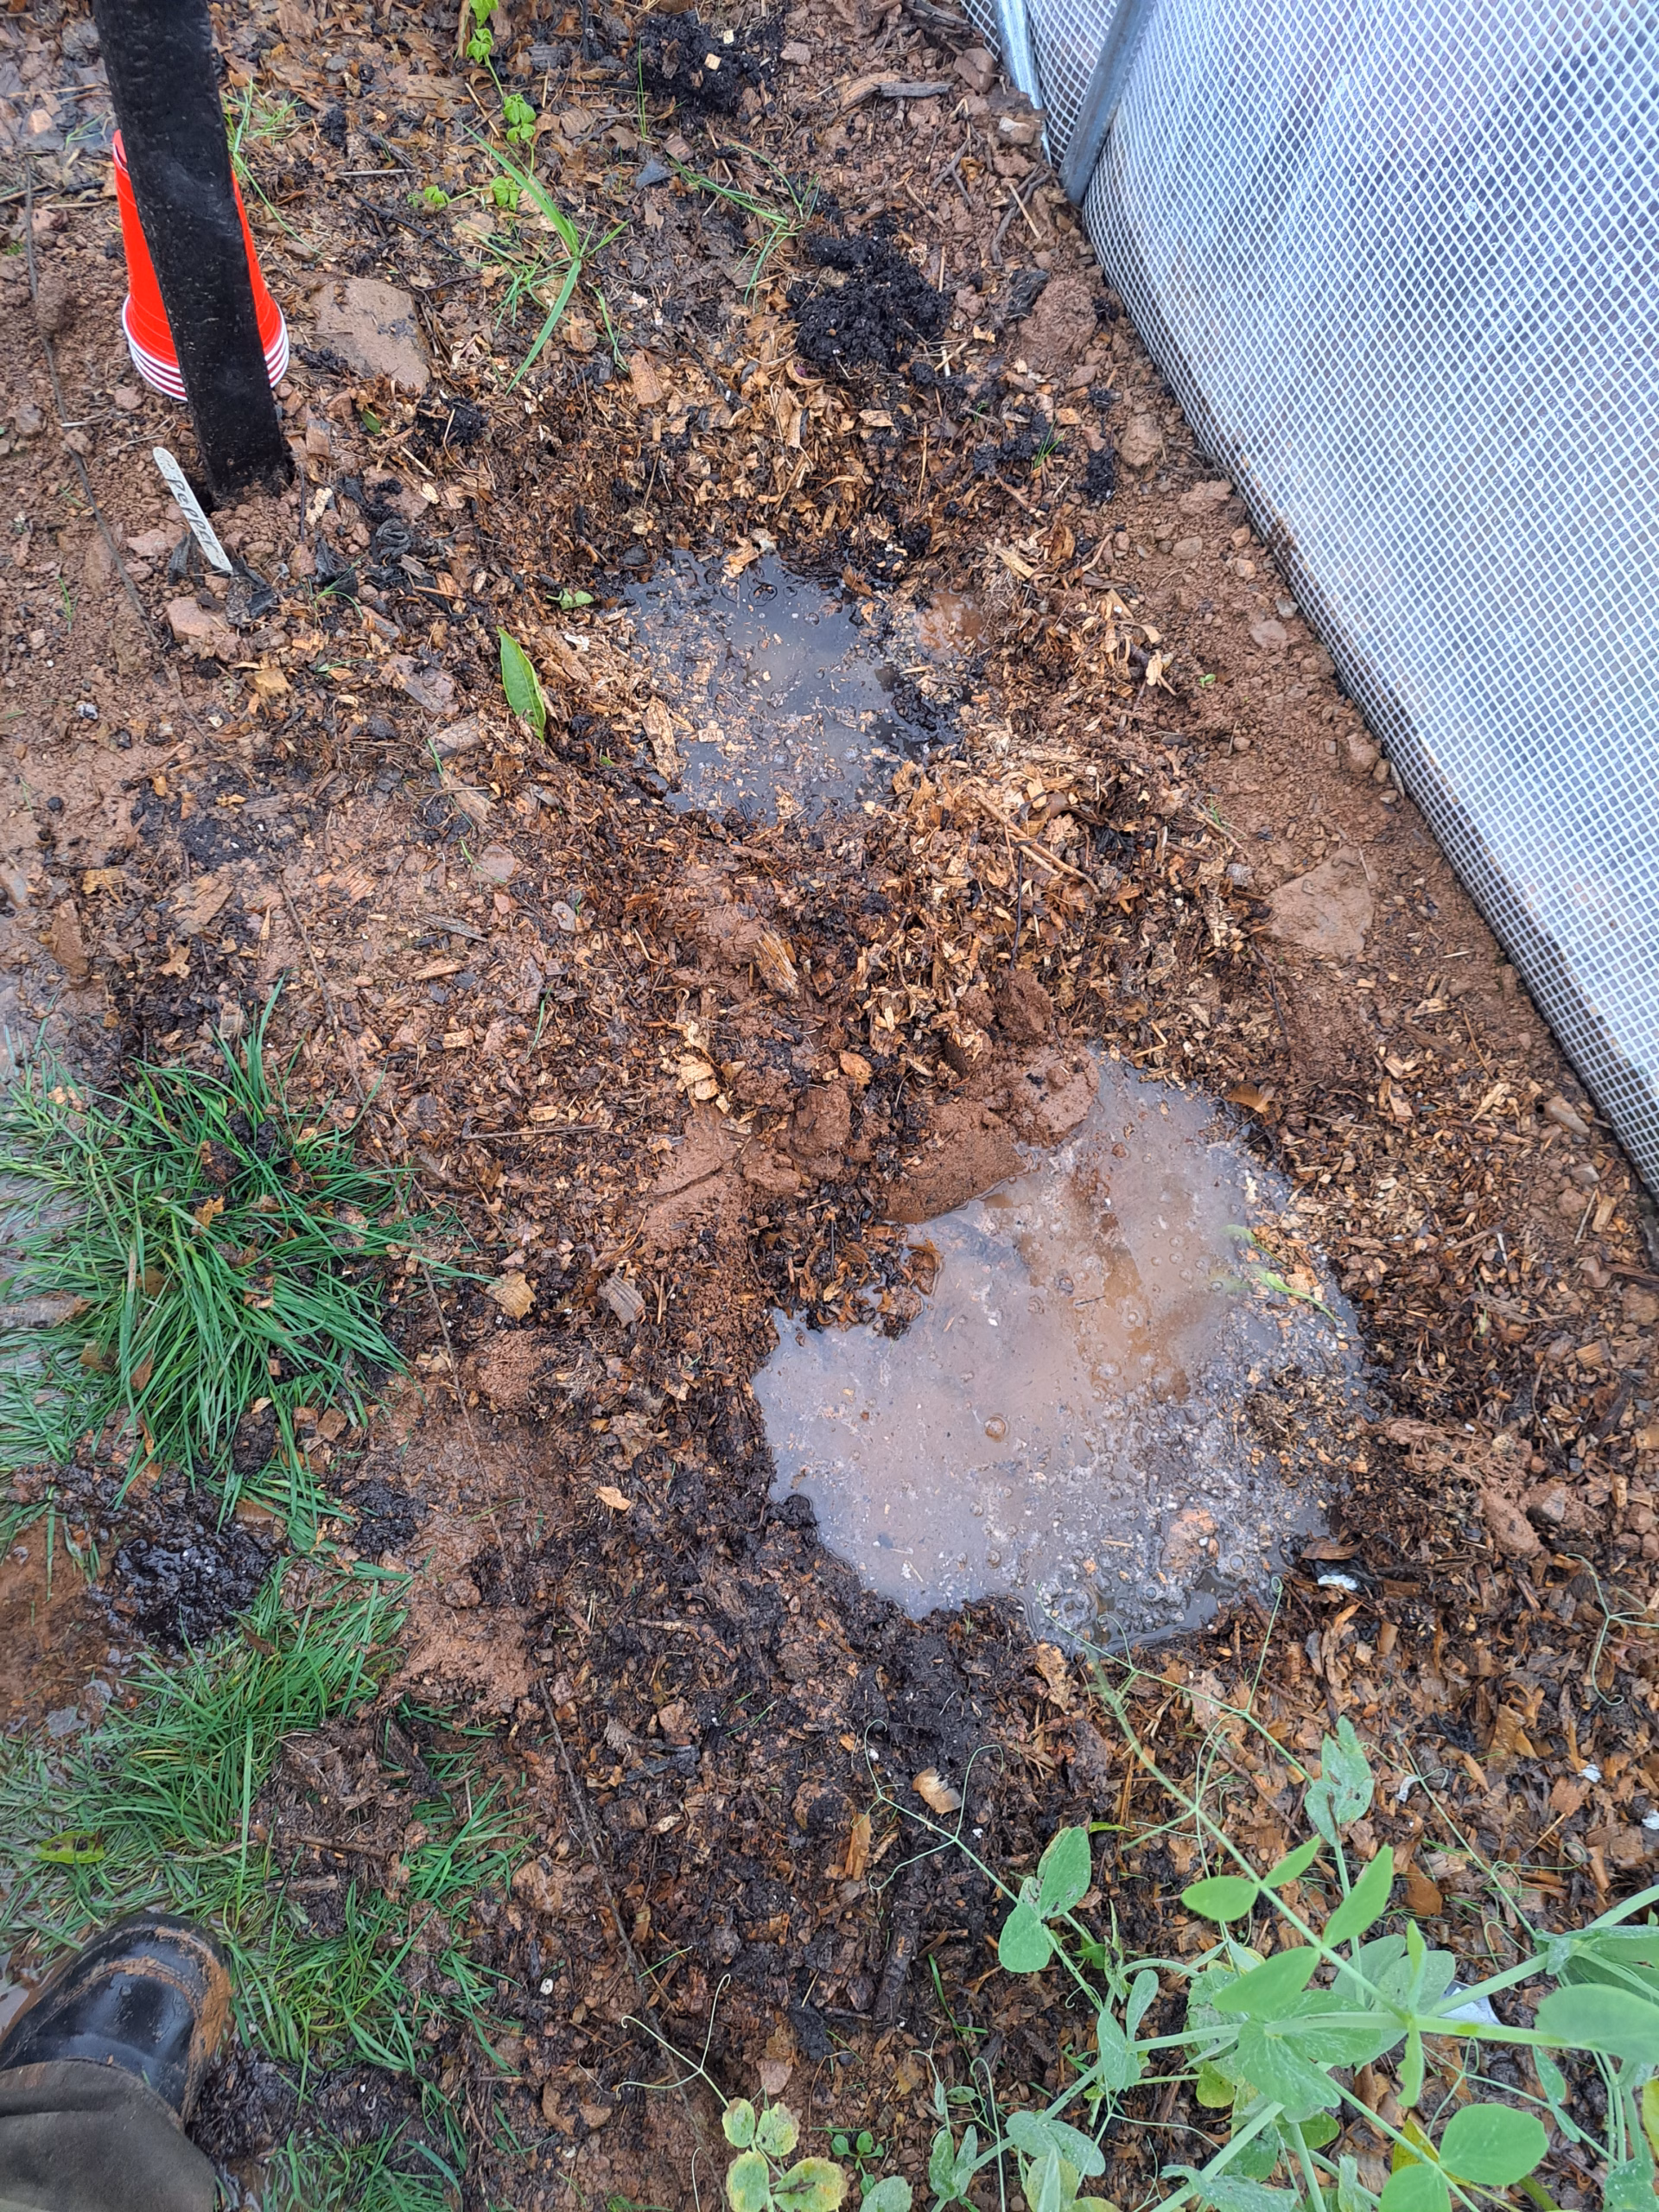
The mechanism is simple. Water infiltrates the topsoil at first, but at a certain depth it is slowed sharply because a dense horizon sits there. That horizon can be a natural soil layer, a compacted zone caused by traffic, an old tillage layer, or a transition into heavier, finer subsoil.
The result is that water accumulates above that zone. A planting hole can behave like a bowl, and it can look as if “the entire soil is undrainable”, even though the actual problem is concentrated at a specific depth.
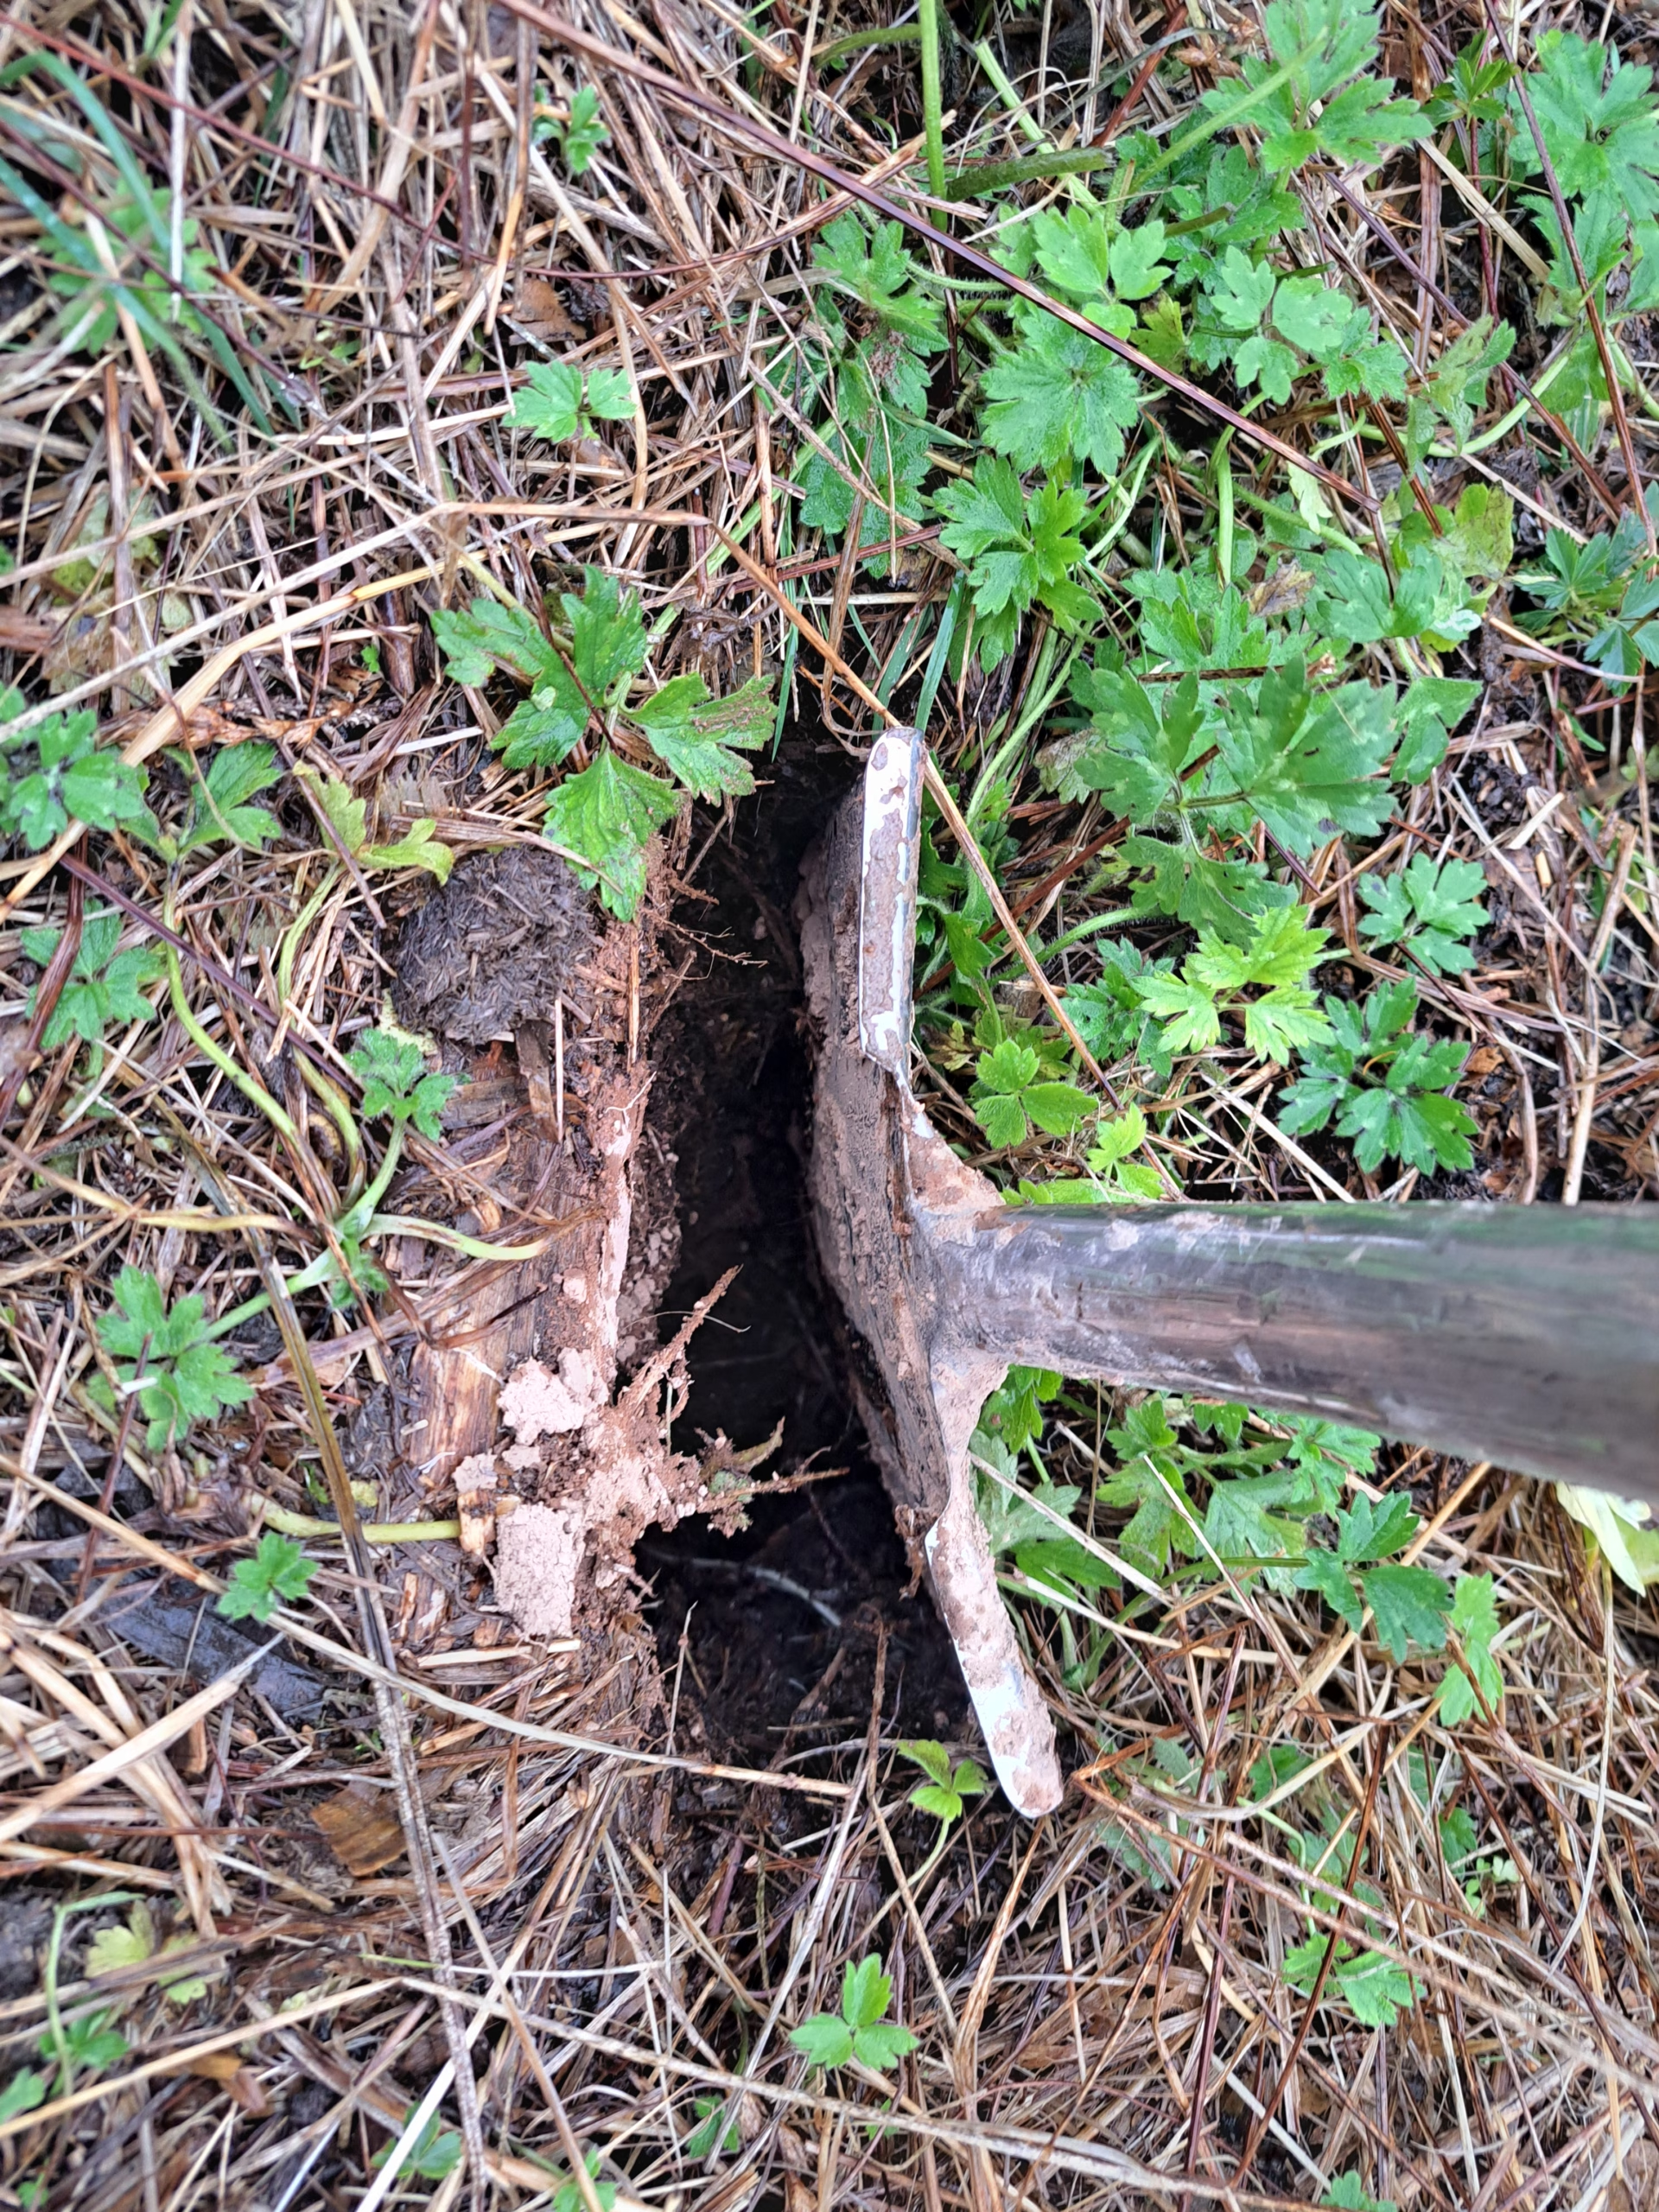
A typical sign is that the soil suddenly looks and feels different below a certain depth. The upper layer may be crumbly or at least workable, while the layer below becomes smooth, smeary, very dense, or shows a clear color change.
In some cases, that lower zone even smells different because it stays saturated longer and more often.
For plants, the outcome is predictable. Roots stay shallow because they avoid the permanently wet, oxygen poor layer.
This is one reason why some crops never root deeply in clay soils even when the surface receives plenty of compost and mulch.
When this type dominates, the solution is almost never “surface only”. It is usually a combination of water routing, soil protection, structure building, and, if anything mechanical is done, it should be targeted precisely at the depth where the barrier sits.
Waterlogging diagnosis: quick check and a 24 hour test
This section is designed so you can start quickly.
In a short time, you can collect strong clues about the most likely cause. The more reliable confirmation comes from a simple 24 hour check, because waterlogging is defined by water staying too long, not just appearing briefly.
The quick check combines observation, an initial hole test, and a compaction check.
These are not lab measurements, but they are often enough to set direction.
At its core, the 24 hour test asks one question. Is there still water in the hole many hours later. If yes, you are dealing with a real drainage or perched water issue in the root zone, not just a short wet window after rain.
Observe flow paths
If it is raining, or if rain just stopped, walk the area on purpose.
You are not looking for wet spots. You are looking for movement.
- Where does water visibly come from.
- Where does it speed up.
- Where does it slow down.
- Where does it collect.
- Where does it disappear.
On clay and loam, even small changes in elevation can steer water into specific directions.
Pay special attention to concentrated inputs because they can amplify waterlogging massively.
Downspouts, roof edges, paths, driveways, and hard edges can behave like water guides. If you identify a clear inflow here, you often found the fastest lever in the whole system.
Record starting points, collection points, and directions. A photo is enough, as long as you can compare it during the next rain.
If it is not raining, you can still do useful work. Look for traces.
- Small rills.
- Deposited silt.
- Smooth puddle rims.
- Areas that clearly stay wet longer than their surroundings.
This does not fully replace rain observation, but it often provides enough clues to choose the next step correctly.
Hole test for drainage and perched water
Dig a hole about 30 cm deep.
Try not to test only the wettest point. If possible, compare two spots, for example the problem spot and an area that dries faster. That helps you understand whether the issue is local or widespread.
Fill the hole completely with water and let it drain once.
Then fill it a second time. The second fill matters because dry soil can absorb the first fill faster than it will under real wet weather conditions.
Now watch what happens. Does the water level drop clearly, or does the hole behave like a standing bowl.
Also inspect the wall of the hole. If you see a clear boundary, for example a shift from crumbly to smooth and a smeary zone, that strongly suggests a dense, limiting layer.
Note the depth where that change occurs, because that depth will later determine which interventions make sense.
Check for compaction
Compaction is common in clay and loam because these soils are sensitive when wet.
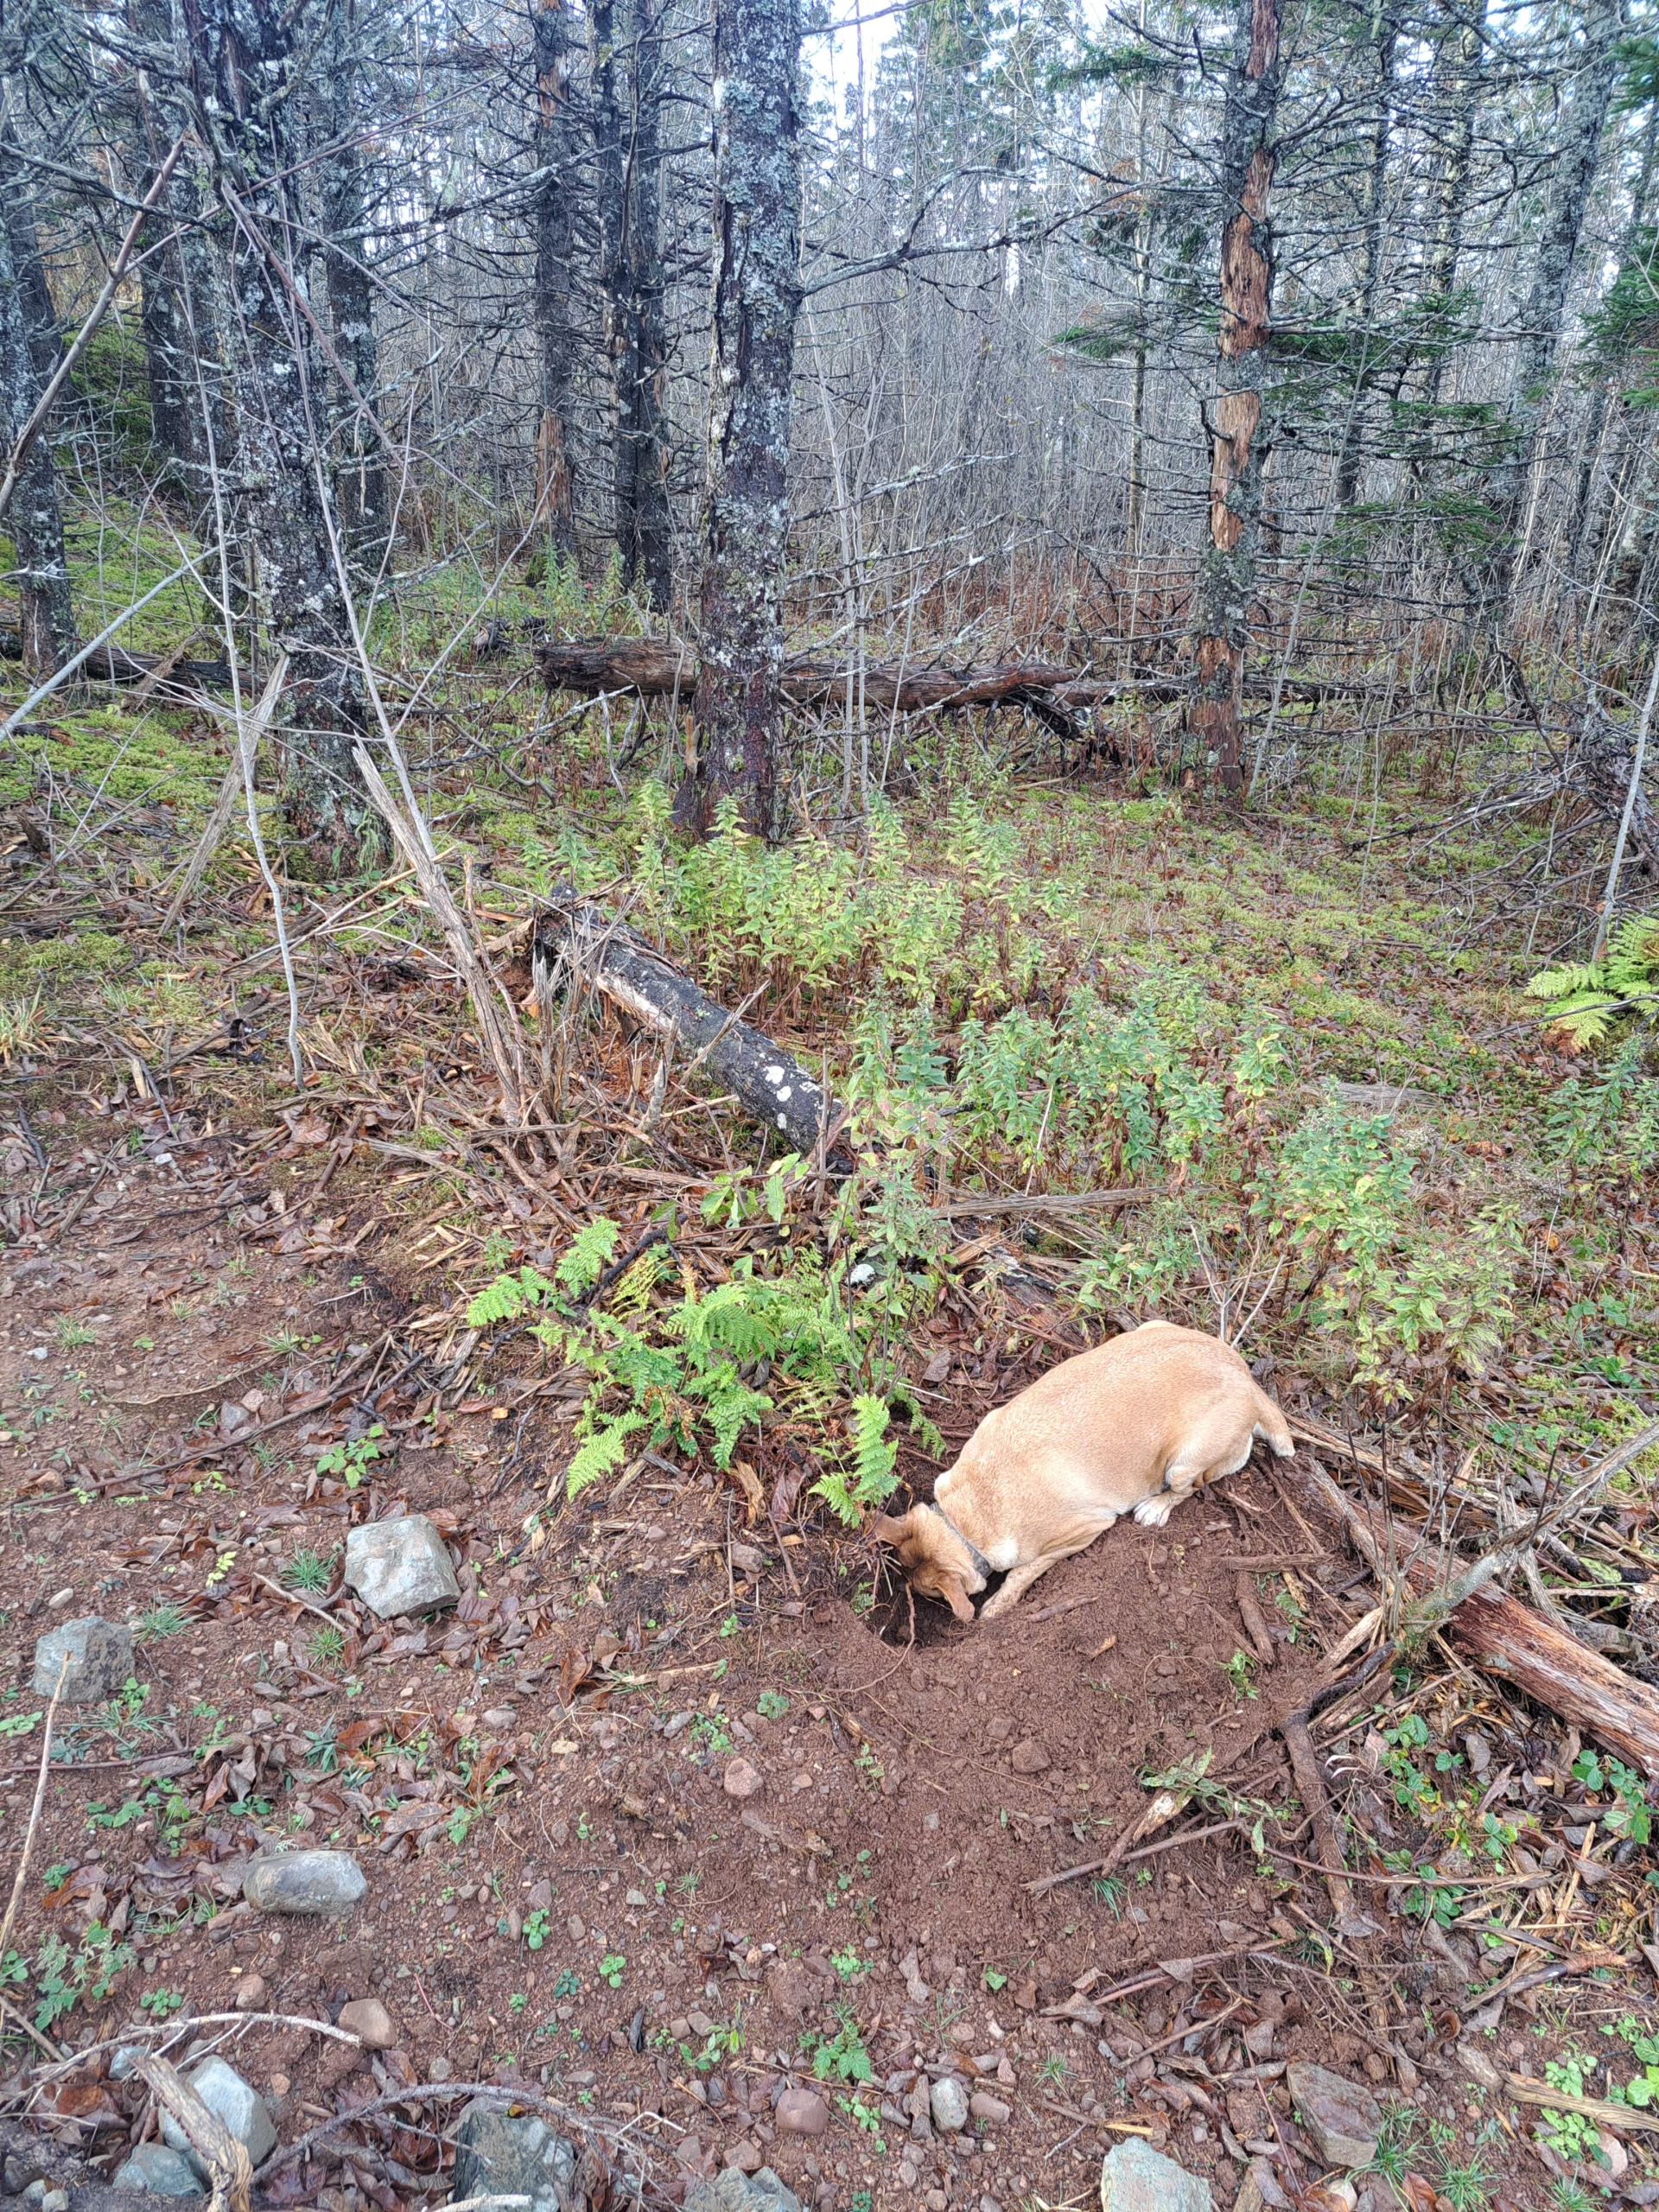
Push a sturdy rod or the shovel handle straight into the ground.
If it goes in fairly easily to a certain depth and then suddenly becomes much harder, that is a typical compaction signal.
Write down the depth of that resistance. Compare it to what you saw in the hole test. If both point to the same depth, it is very likely that this is where the main mechanism sits that either holds water up or forces it sideways.
If resistance is similar everywhere, the soil may be uniformly dense, or your main issue may be surface water or lateral inflow rather than a single compacted layer.
The 24 hour test
The 24 hour test is the honest confirmation that quick tests often cannot provide.
It is simple. You check whether there is still water in the hole many hours later or the next day.
If yes, waterlogging in the root zone is very likely.
If no, the problem can still be real, but it points more strongly to surface water, micro depressions, or temporary saturation after heavy rainfall rather than persistent perched water.
If you want a slightly richer picture without babysitting the hole, note the time and do two checks, for example after four hours and the next morning.
That gives you a rough drainage curve.
Assign your result
Once you completed the steps, assign your result to a main category.
- If you found visible surface flow, depressions, or concentrated inputs, start with water routing and surface protection.
- If you identified a clear entry line or a wet band across the slope, start with intercepting inflow, guiding it safely, and building a reliable overflow.
- If the hole behaves like a bowl, a dense layer is visible, or compaction sits at a clear depth, start with soil protection, structure building, and targeted opening only where it makes sense.
Waterlogging: from test to solution
After the quick check and the 24 hour test, the goal is not to prove a perfect diagnosis. The goal is to choose the right order of action.
In clay and loam, multiple factors can coexist, but there is usually a main driver that keeps the system wet.
That is the factor you reduce first, because otherwise it will overpower every other improvement.
If roof runoff keeps being delivered into the problem zone, structure building alone will not act fast enough. If a dense layer is the core issue, surface diversion alone will not solve what is happening inside the profile.
To avoid working everywhere at once, use the signals you collected and choose your first package so it reduces the main driver first, and stabilizes secondary drivers afterward.
If you follow that sequence, waterlogging will not disappear overnight, but it will become predictable.
You will understand why the area stays wet, you will adjust the water path deliberately, and you will build soil structure so the site becomes less sensitive with each rain.
That is the moment a recurring problem turns into a site you can understand and shape.
Solutions that actually change things
These solutions are designed so you reduce pressure first and improve the system long term afterward.
Quick wins make the site usable, change water paths visibly, and reduce plant stress.
The long term plan reduces the cause over time so you do not restart after every major rain.
That matters even more in clay and loam, because these soils do not change permanently through one single measure. They change through repeated structure building, good timing, and smart water routing.
The solutions are designed so you can combine them. If you have surface water and compaction at the same time, you start with routing and surface protection while building structure in parallel.
If you have lateral inflow, you usually need interception, but you can still raise the root zone and protect the surface immediately.
The key is to do the highest impact step first.
If surface water dominates
If surface water is the main driver, water is not primarily stuck deep in the soil. It is either not infiltrating fast enough at the surface, or it is collecting in micro depressions.
This is common in clay and loam because fine particles can crust quickly after wrong timing or bare soil exposure. A thin, dense surface layer can behave like a lid.
That is why the focus is threefold.
- Reduce concentrated inputs.
- Adjust micro topography so water has a path.
- Protect the surface so infiltration can recover.
Quick wins for surface water
Redirect concentrated water away from the problem zone. When downspouts, roof edges, or hard surfaces deliver water into a small area, waterlogging can develop even if the wider site is not extreme. Near buildings, this is often the single biggest lever. The goal is to move that water to a place that can accept it, and to ensure that heavy rain cannot push it back into the problem zone.
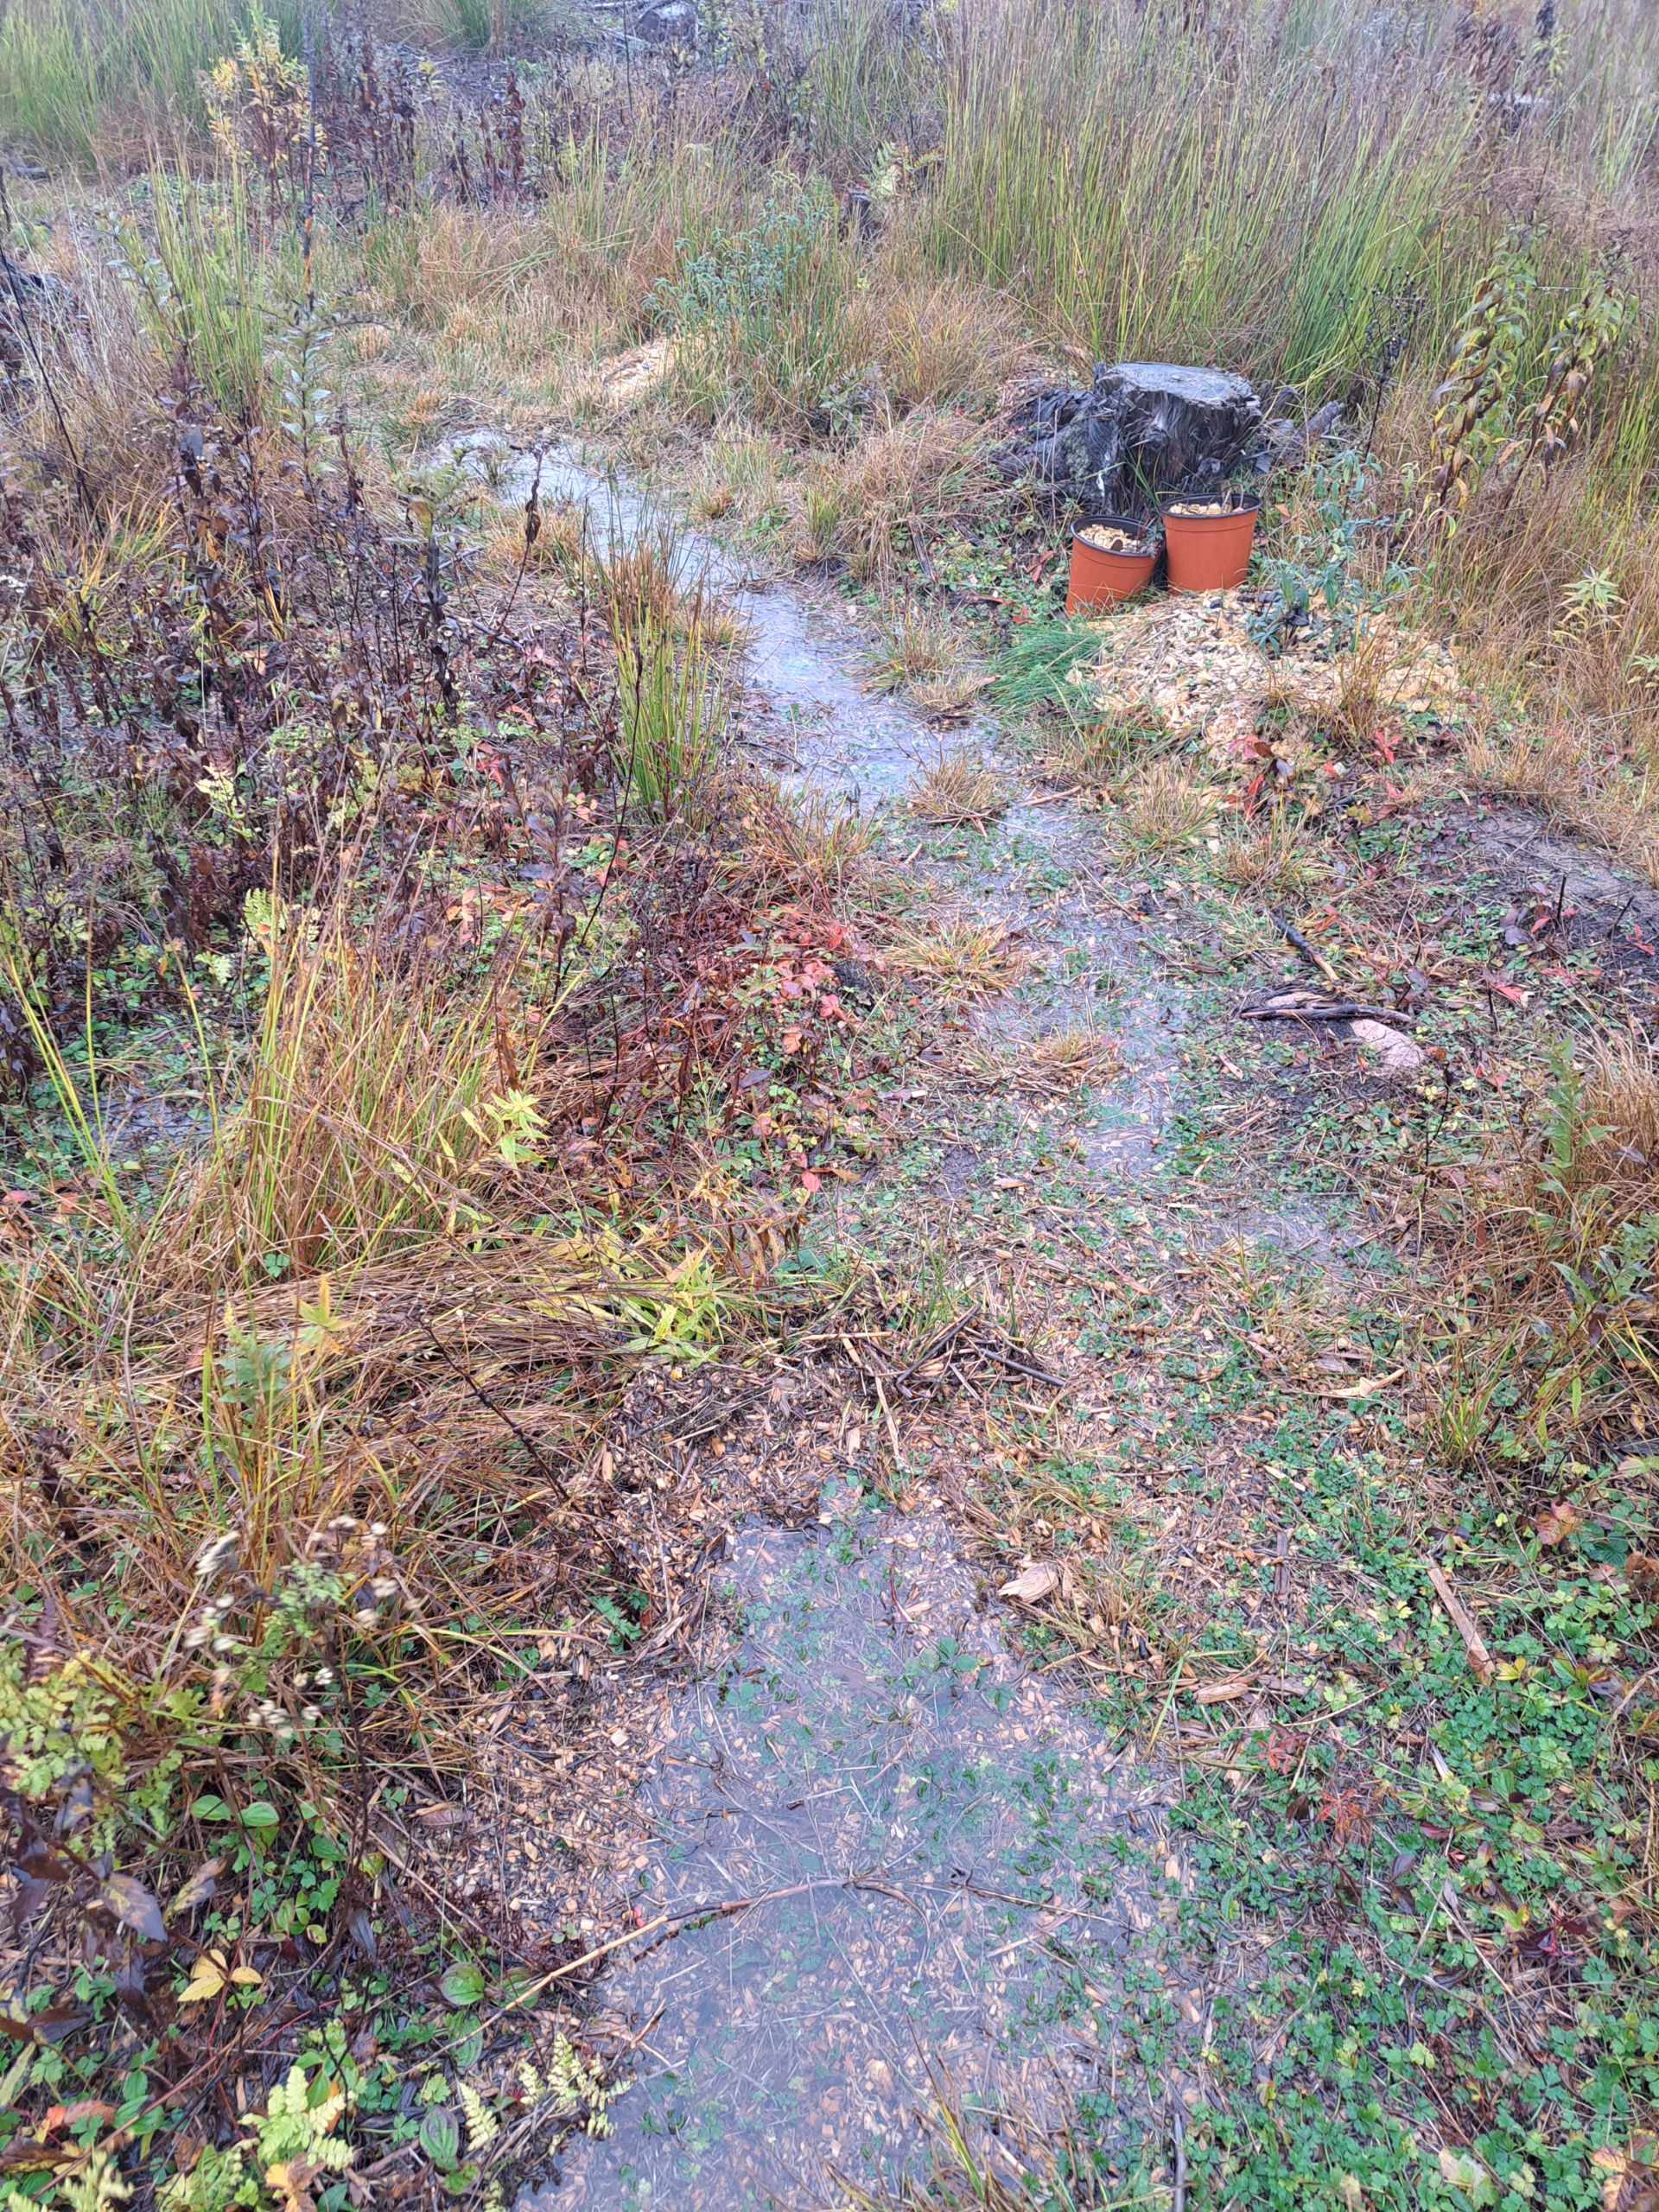
Fix micro depressions instead of rebuilding everything. Many puddles are just a few centimeters of shape. A small low spot in a bed, a compaction track, or a hard edge is enough to hold water. A gentle correction that creates a continuous path can beat major earthworks. What matters is not “filling”, but creating a route for water.
Protect the surface consistently. Mulch, leaf cover, or permanent ground cover reduces raindrop impact and crusting. This is especially important when you see water sitting on top rather than entering the soil. A protected surface is also the condition under which roots and soil life can improve structure.
Use a fast planting strategy when needed. If you want to plant now but the soil is not ready, raised beds or built up planting zones are pragmatic. They move the root zone upward, reduce stress, and let you work on the site without losing the season.
Long term plan for surface water
Long term improvement means better infiltration without constant disturbance. In clay and loam, structure matters more than mixing. You want stable aggregates that do not collapse with the first heavy rain. You build that through organic matter, continuous rooting, and avoiding work at the wrong moisture.
Practically, that means keeping soil covered, feeding the system with organic material as protection and energy for biology, and planning paths and work areas so beds are not repeatedly compacted.
Repetition across seasons matters. If every spring begins with traffic and work on wet soil, the system shifts toward compaction and crusting. If you protect the surface and let roots do their work, permeability can improve noticeably even if the soil remains clay rich.
The goal is not to turn clay into sand. The goal is to structure clay so water and air can move again.
If lateral inflow dominates
Lateral inflow means you are dealing with water pathways through the landscape, not only soil in a bed. Water is being pushed into the zone from outside, often along a layer boundary or as seepage from higher ground.
That is why the first step is always to find the entry line and give the water a controlled alternative. Without that control, you keep fighting an inflow that returns after every significant rain.
This solution package is especially important when you see a wet band across a slope or a consistently wet strip at the foot of a bank.
In such cases the water does not have to disappear. It has to go somewhere that does not create damage, and it needs a safe route to get there.
Quick wins for lateral inflow
Make the entry line visible. After rain, mark where wetness starts and how it moves. It is often a line rather than a point. Once you know that line, you can work above it or at the edge instead of digging in the wet core.
Intercept inflow and guide it safely. This can be a shallow interception line, a swale with a defined overflow, or a mix of grading and vegetated strips. The key is that you do not only collect water. You give it a path. On heavy soils, pure collection often becomes a standing wet zone.
Always plan an overflow. Overflow is not optional because heavy rain will happen. Without an overflow, water creates its own route, often right where you do not want it. A defined overflow prevents your measure from creating a new waterlogging problem.
In the video below, we show a small overflow in action. For heavy rain events, we also built in the option to switch to a larger overflow, so the system stays predictable even when the water volume spikes.
Keep planting possible while you fix water pathways. Raised planting zones can protect crops even while you are still sorting out inflow.
Long term plan for lateral inflow
Long term, you stabilize the zone so it becomes less sensitive. Deep rooted plants can create pores and more stable flow paths. This does not replace interception, but it improves structure where wetness repeats.
Work in small steps and check after each rain. On heavy soils, large swales or wrong grading can accidentally create new standing water. Small steps are safer because you learn how your specific landscape reacts. The goal is controlled flow into a place designed to receive water, not uncontrolled movement into beds or building zones.
If compaction or a dense horizon dominates
When compaction or a dense horizon is the main driver, your profile behaves like a barrier. Water can enter the top layer, but it cannot move on reliably, so the root zone stays saturated too long.
Timing is decisive here, and doing more is not automatically better.
The wrong intervention in wet clay can smear pores and worsen the situation for a long time.
This solution package therefore focuses on protection, cover, biological structure building, and mechanical intervention only when it is targeted and timed correctly.
Quick wins for compaction and perched water
Avoid working wet soil. This is the single most important rule because it prevents you from intensifying compaction. If you change only this one thing consistently, the situation can already improve because the soil is no longer being pushed tighter again and again.
Cover the soil. Mulch, leaves, and chipped plant material protect the surface from crusting, keep biology active, and support aggregate formation. This is the base layer for structure building in clay and loam.
Raise the root zone if you need to plant now. Raised beds or built up planting areas are functional. They keep roots out of the saturated layer and buy time for long term improvement.
Prevent new compaction. Define footpaths, avoid heavy loads on wet ground, and protect the areas you are trying to improve. This is a quiet quick win, but it often determines whether the rest will succeed.
Long term plan for compaction and perched water
Long term, you need structure, and structure is built through repetition. You increase organic matter, keep living roots in the system as much as possible, and protect the surface so aggregates can form and stay stable. In clay soils, stable aggregates are the pathway from smeary to crumbly without changing the soil type.
Targeted mechanical loosening can help if you identified a clear compaction depth. It only works if it is treated as an opener and followed by aftercare. Aftercare means covering immediately, re rooting the zone, and avoiding new compaction. Without aftercare, the loosened zone often collapses back, and you are back where you started a year later.
If the dense horizon is strong, plan realistically. Some subsoil horizons are hard to change quickly. In those cases, the combination of water routing, raised root zones, and consistent structure building across seasons is often more effective than trying to fix the subsoil fast.
Technical drainage
Technical drainage can work, but it is not a default recipe. It works only if water can actually move toward the drain, if slope exists, and if there is a safe outlet. In very dense clay, lateral movement toward a drain can be slow, so the effect may be smaller than expected.
If water issues are close to buildings, foundations, or any structural risk, professional planning is sensible. In a garden context, drainage is often a later stage when routing, surface protection, and structure building are not enough or when the site stays extremely wet for long periods. It is usually better to see whether you can improve the water path first, before installing pipes.
What not to treat as a default solution
There are two common tips that can work in specific contexts, but often disappoint as general advice. This matters because they can create a lot of effort without touching the real cause.
Adding sand to clay in small amounts rarely improves drainage meaningfully. In unlucky mixes it can produce a denser, harder structure. If you want better drainage, building structure with organic material is often the more reliable lever.
Gypsum can be useful under certain chemical conditions, but it is not an automatic answer to waterlogging when the problem is structural or hydraulic.
Without the right starting conditions, the effect can be limited, and time is often better invested in water routing and structure building.
Sources
Sources
USDA NRCS Soil Health Guide: Infiltration (PDF)
Oklahoma State University Extension: Addressing Drainage Issues in the Urban Landscape
Colorado State University Extension: Soil Drainage
UC Master Gardeners Placer County: Got Compaction? How to Improve Soil Drainage
University of Illinois Extension: Does Sand Improve Clay Soil Drainage?
University of Saskatchewan Gardening: No Adding Sand to Clay Soils
Washington State University Extension: The Myth of Gypsum Magic (PDF)
